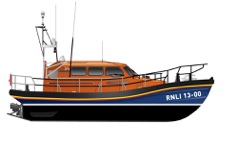
18-09-2019.
Well I finally decided which Lifeboat I wanted to build, after seeing a couple of video’s of the ‘Models by Design’ Shannon, I just had to have one. After an initial contact with Andy & Debbie at MBD I put my order in on 16th September 2019. I was 2nd on the list and told 8-10 weeks but might be sooner, this was fine as it’s my winter project and I decided it could be my Christmas present to me, and it would give me time to finish the paddle wheel pusher tug.
I have no ‘hands on’ knowledge of jet drives so I only know what I’ve read about them, I know they are getting more popular these days and MBD currently recommend KMB units.
I have some ideas with regard to controls, Action Electronics make an ESC that also controls the reverse bucket, but as yet I don’t know how this would operate with ‘2’ jet drives, 2 sticks maybe? I’m sure I’ll be in contact with Andy at MBD at various stages of the build for advice.
Good news today, Debbie called to say my Shannon was almost ready for delivery, so payment was made and I was told to expect it within the next 2 weeks. Kid and sweet shop spring to mind.
I got a call today from Andy to say he was putting the final parts in my kit and would post it on the 30th.
We had quite a chat, I learned a lot with regard to control options, which after processing the information I have more questions than answers.
I was leaning towards Oceanworks jet drives over KMB, Andy has some and says they seem to be quality items and come with more accessories than KMB, so they were promptly put on order.
I have some idea with regard to motors and ESC’s but will wait until the kit and jets arrive before making a final decision.
I have learned that there are 6 Servo’s and 2 ESC’s, so unless you have unlimited funds or are a wizz with transmitters you might have to improvise, I have heard that some people use a pair of 8 channel units. I will give it some thought later.
I tried but I couldn’t wait, I’ve ordered 2 Turnigy 3542 1250kv motors, 2 Turnigy plush 32 60A ESC’s and programming card from Hobbyking.
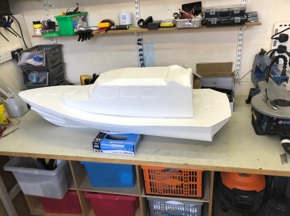
I’ve seen people on the forums ask ‘where is a good place to start’, I always think that it’s important to have a stable platform to work on so I start by making a bench top stand.
I’ve been thinking some more regarding the radio functions, I’ve decided to use the Turnigy 9x transmitter, while I was looking at it Hobbyking suddenly put it on special so I got a great deal, the reason I went for it was because it has 7 proportional channels and doesn’t cost an arm and a leg.
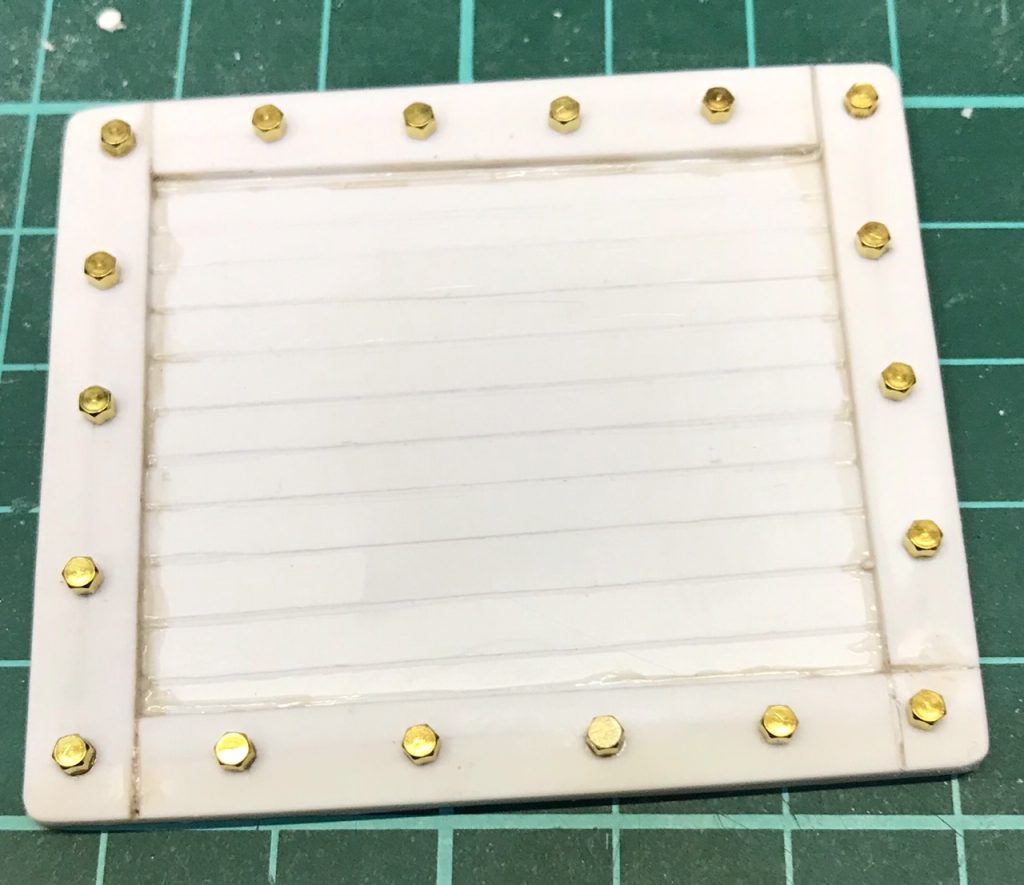
So I thought that if I can join up some of the parts into assemblies there will be less parts to worry about, I trimmed and sanded the window frames and glazing to fit the cabin then sprayed the frames in satin black.
I glazed one frame using black rubberised gutter sealant, it looked good as it had a Matt finish but it stayed tacky so cleaned up and ordered some black silicone.
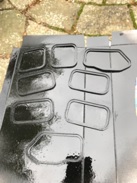
Assembled some deck hatches today and took some measurements ready for assembly.
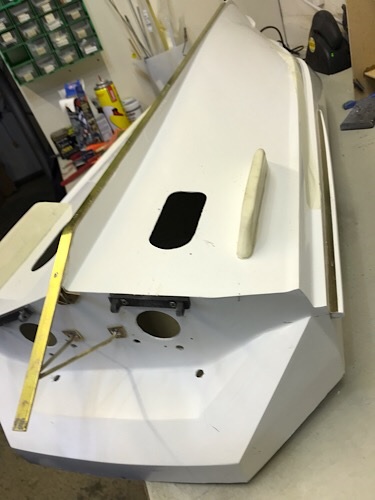
Started cutting the cabin today and working out which bit goes where, a slow process when there are no plans or parts identifying lists. I assume this is why it’s marketed as a ‘semi kit’.
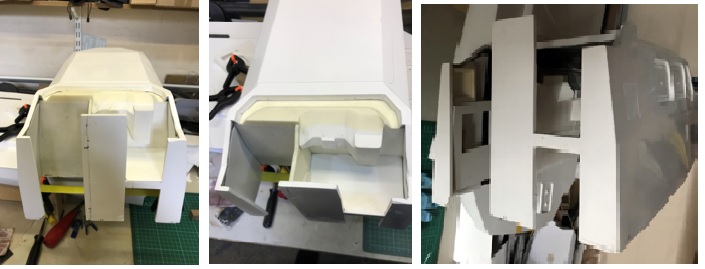
The postman came today, 2 OceanWorks jet drives. I’ll finish putting the cabin rear bulkhead in first before I fit the drive system

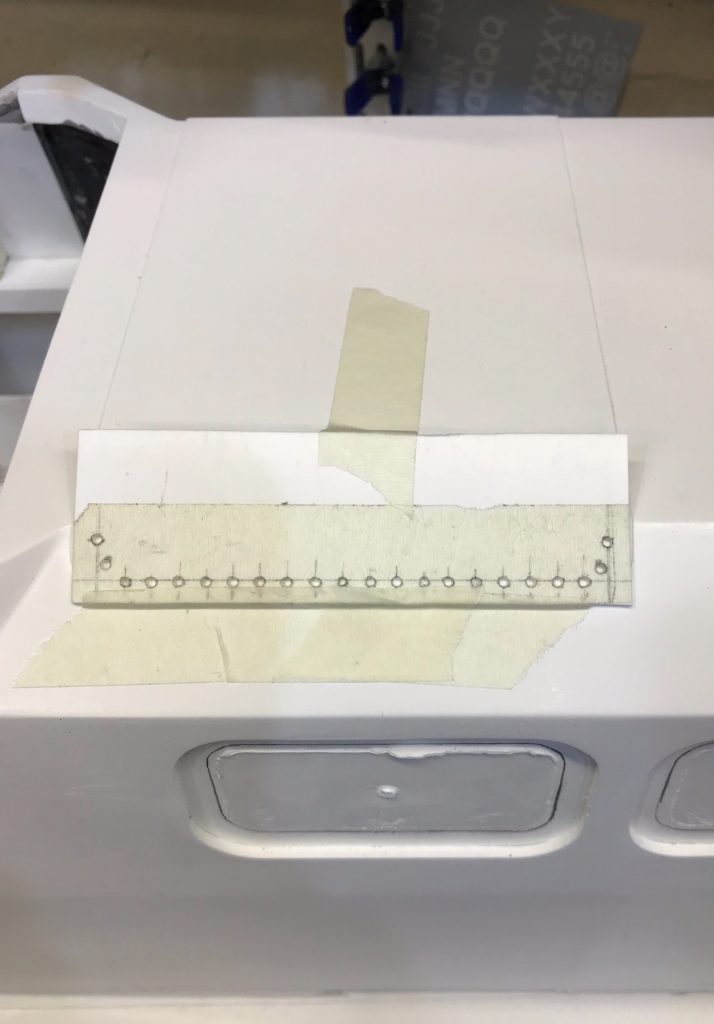

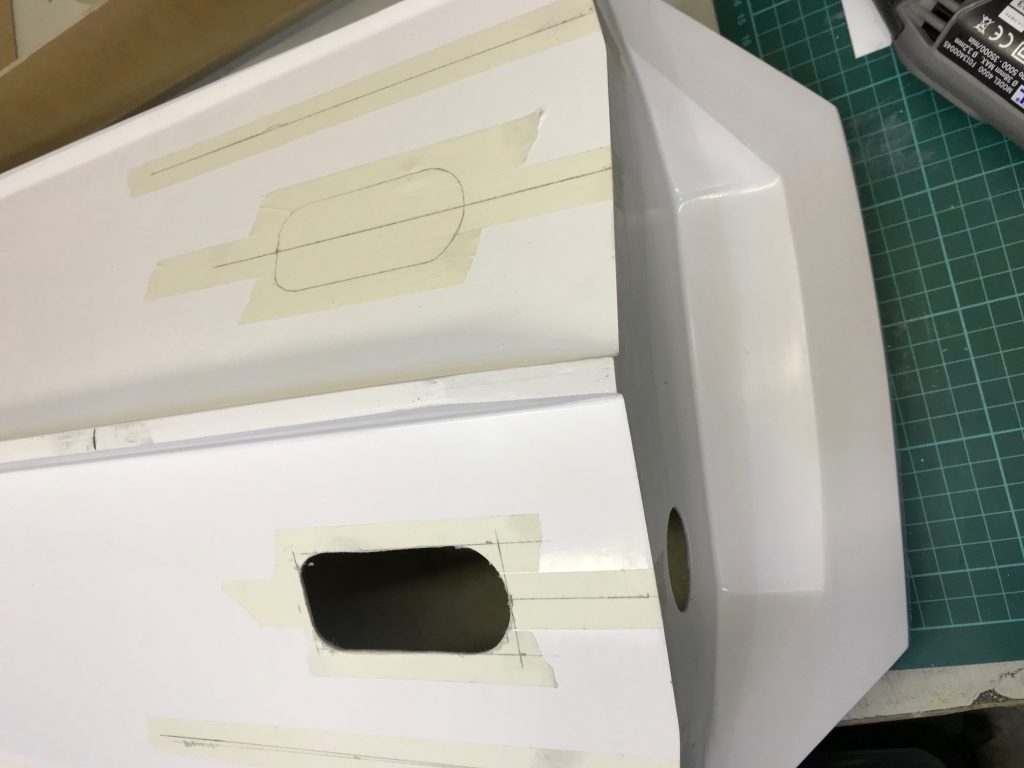

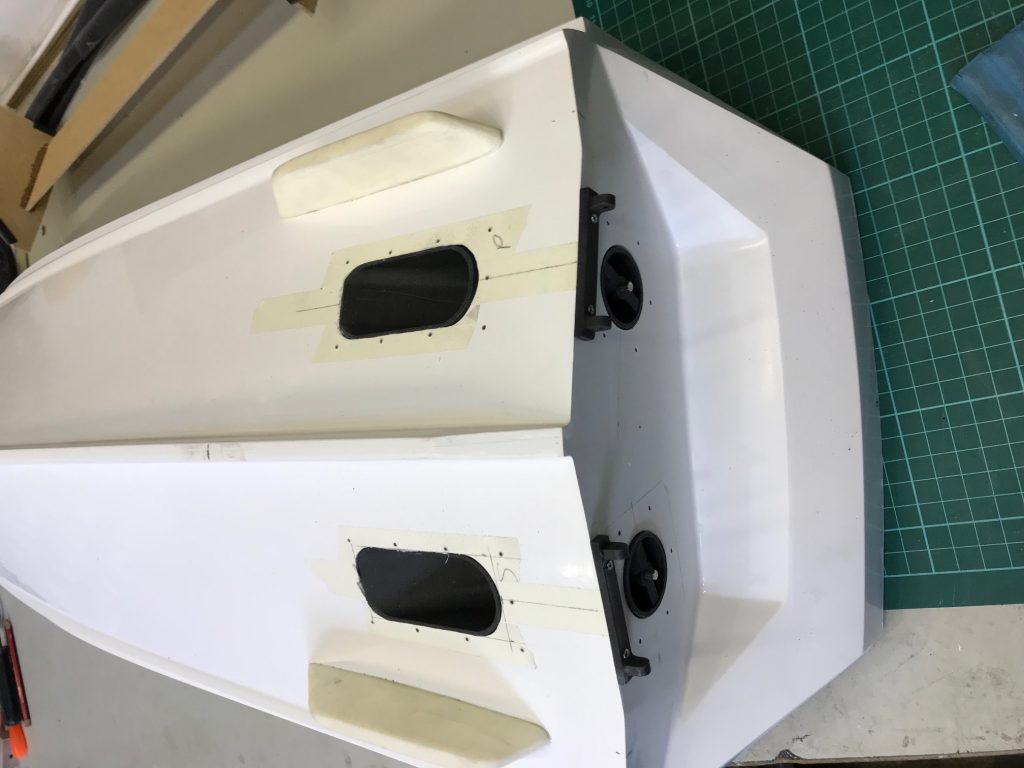
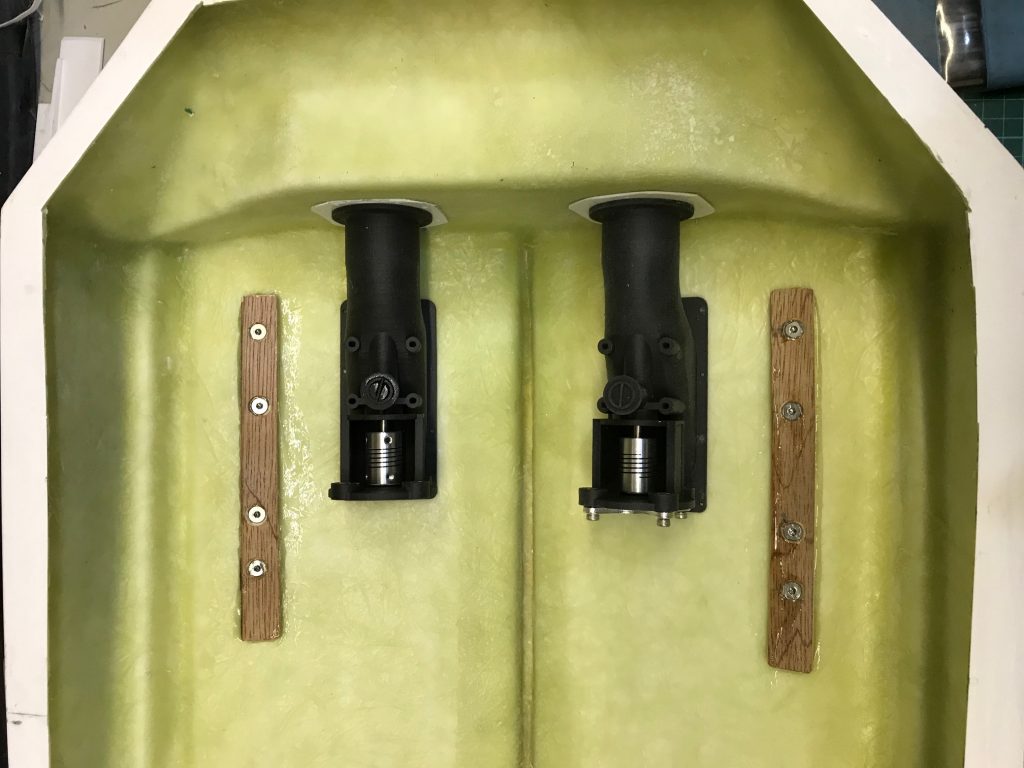

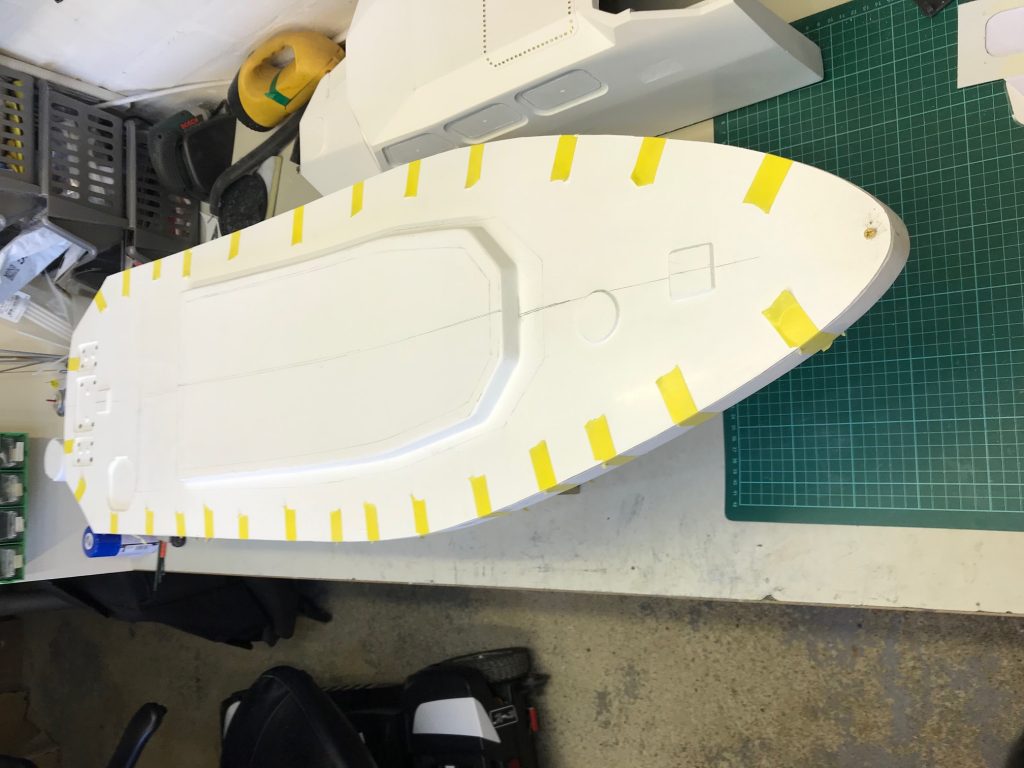
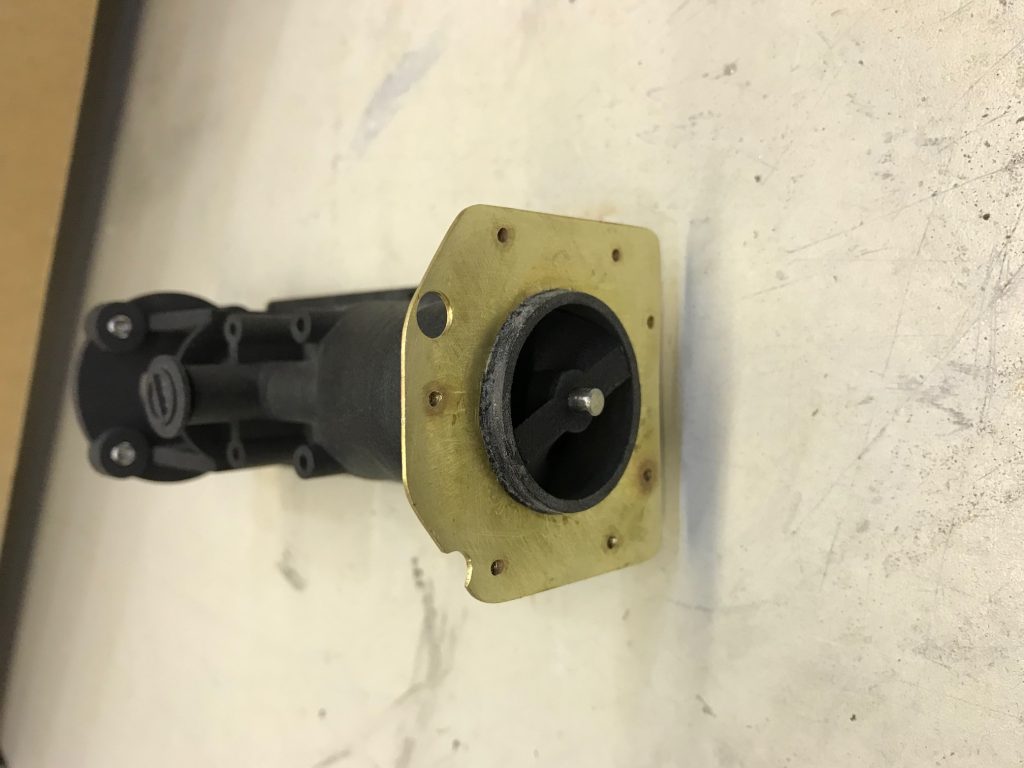
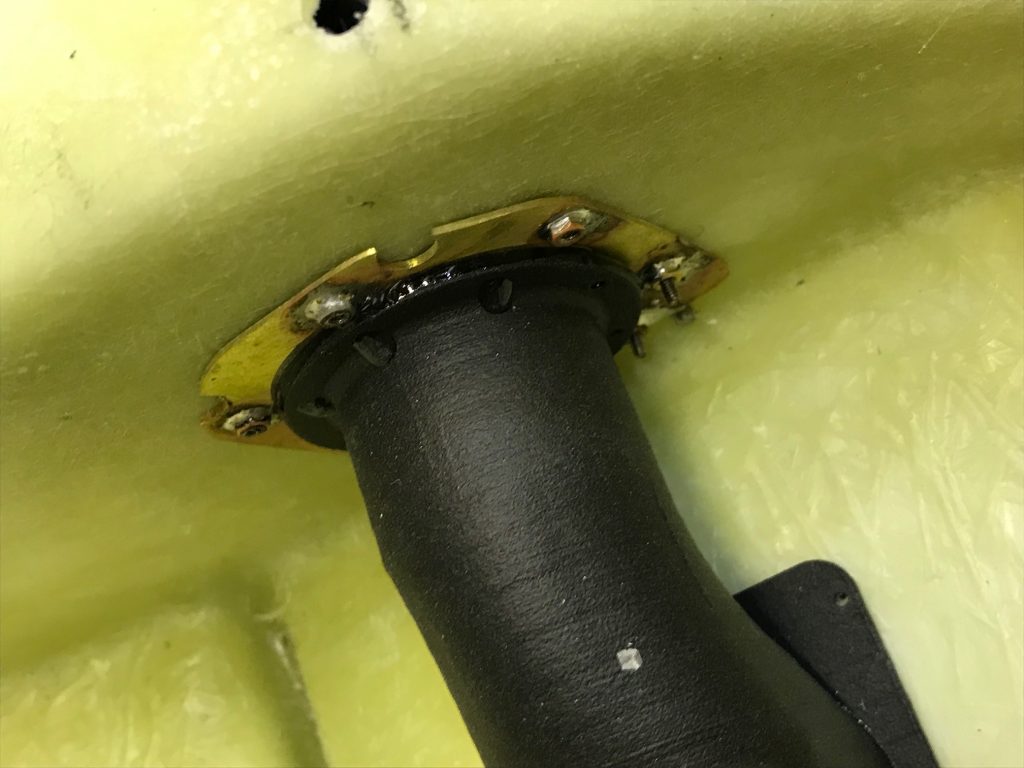
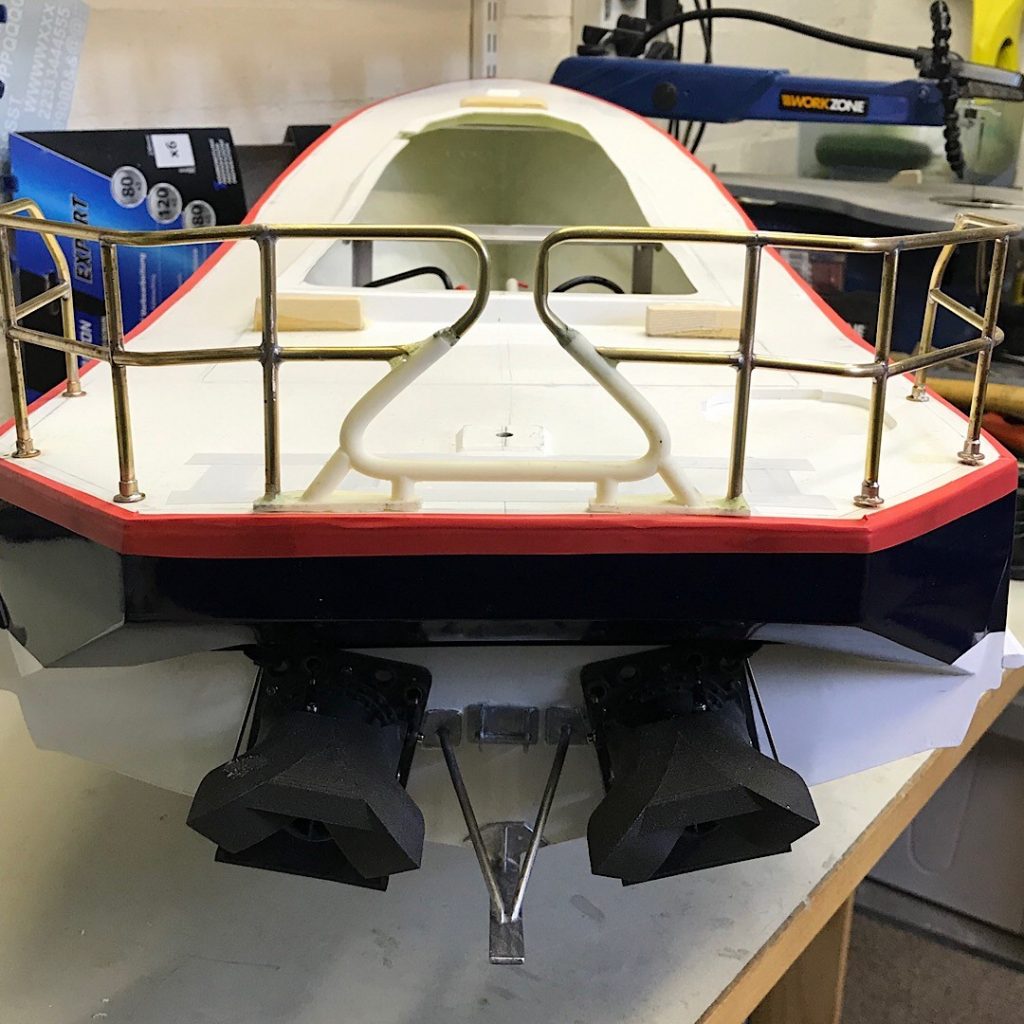
I wanted to make the jet drives removable so the next few photos should be self explanatory.
I would have thought the sensible way to marry the jet drives to the buckets would be to bolt them together with the transom sandwiched between them, but this is not the case.
It would appear that the drives are designed to be bonded to the transom, this would work but they would not be removable.
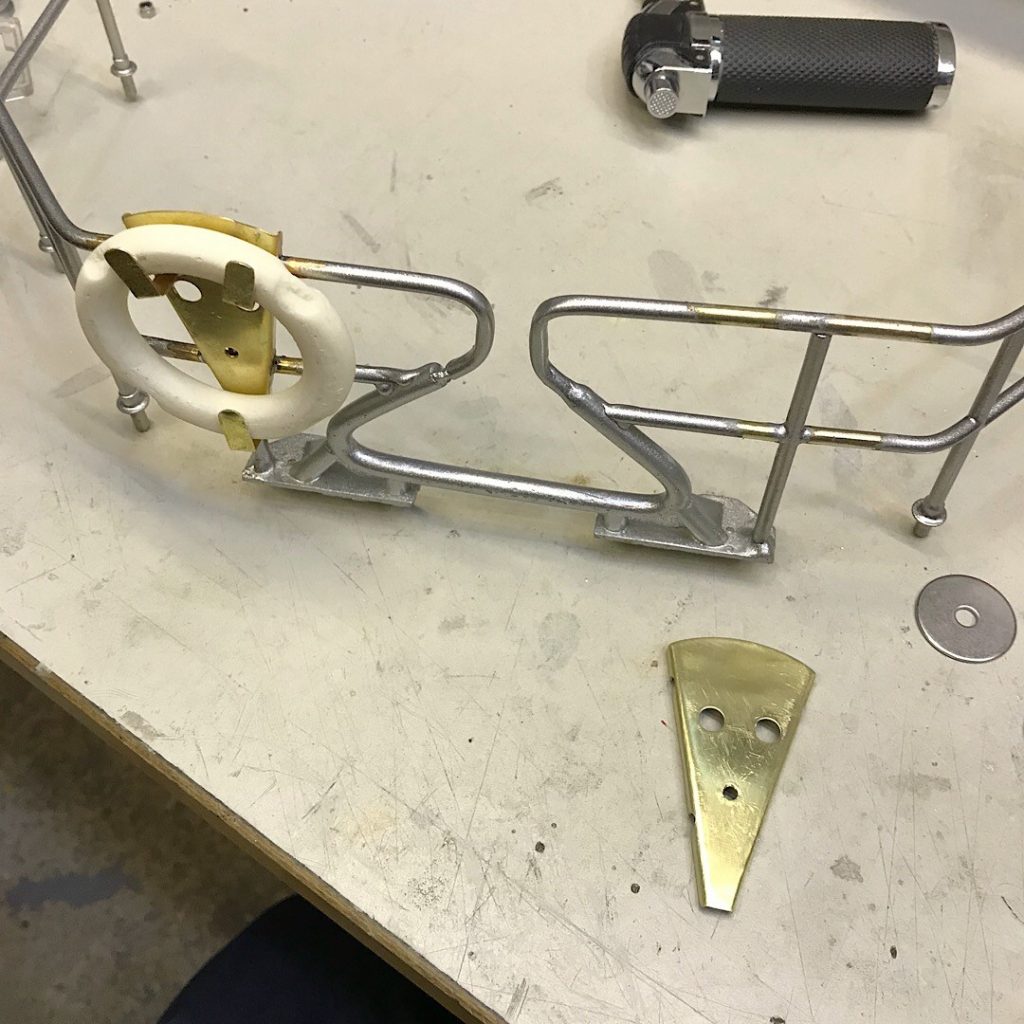
My answer is to make a 1mm brass plate with a hole in the center to sit over the jet drive, 7 mounting holes drilled to match the bucket mounting holes with brass nuts soldered to it for ease of fitting.
Screw the buckets through the transom into the brass plate, after first putting tape on the edges of the hole in the transom to stop the drive bonding to the hull Key the back edge of the drives put a small amount of epoxy resin on it and push it into place through the brass plate and let it set. When cured unscrew the bucket from the brass plate and remove the drive complete with brass plate and put aside until required, I’m going to fit it using silicon gasket sealant which will last indefinitely but allow removal if required
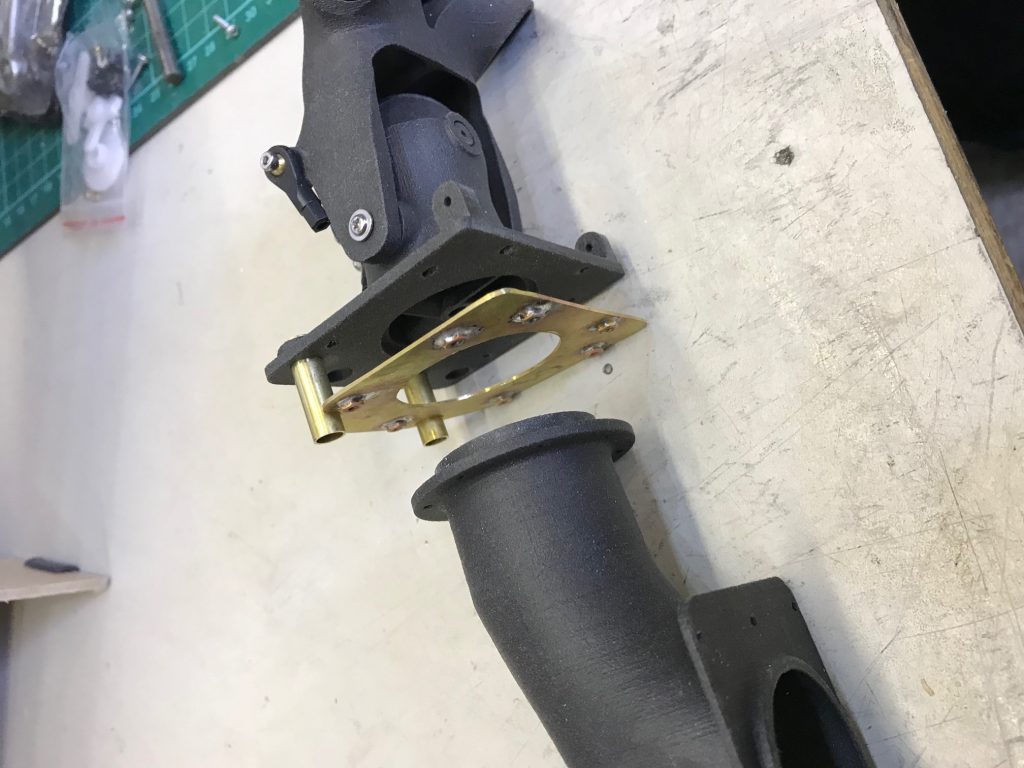
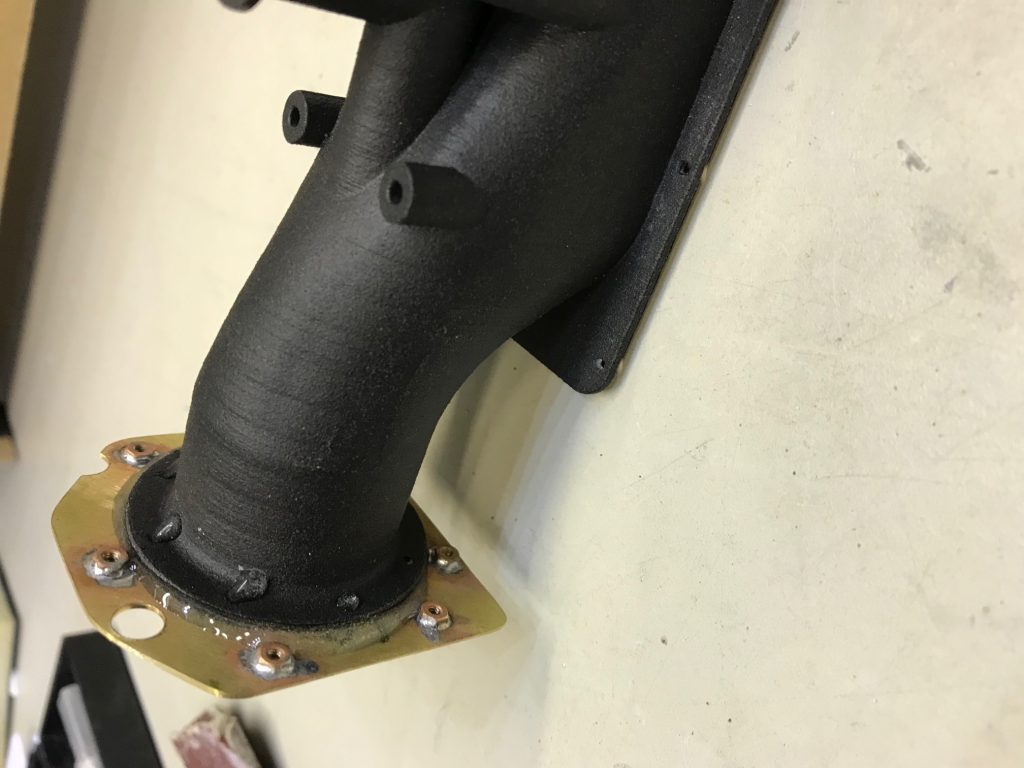
A few more pieces of the jigsaw put together,
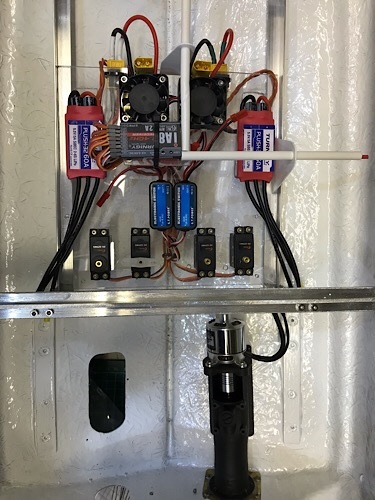
starting with the electrics, all major components secured to one chassis raised clear of the bilge in case of water ingress, which of course there won’t be!
Gordon has successfully used some 25amp power distribution boards designed for drones so I thought I would give them a try. Users of similar motor/esc setups report that in use they don’t pop 25amp fuses so they should be ok, if not they’re only about 4 quid.

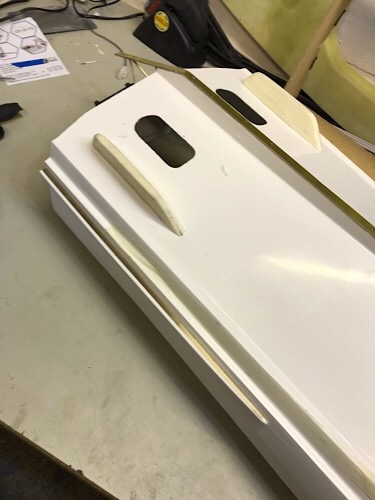
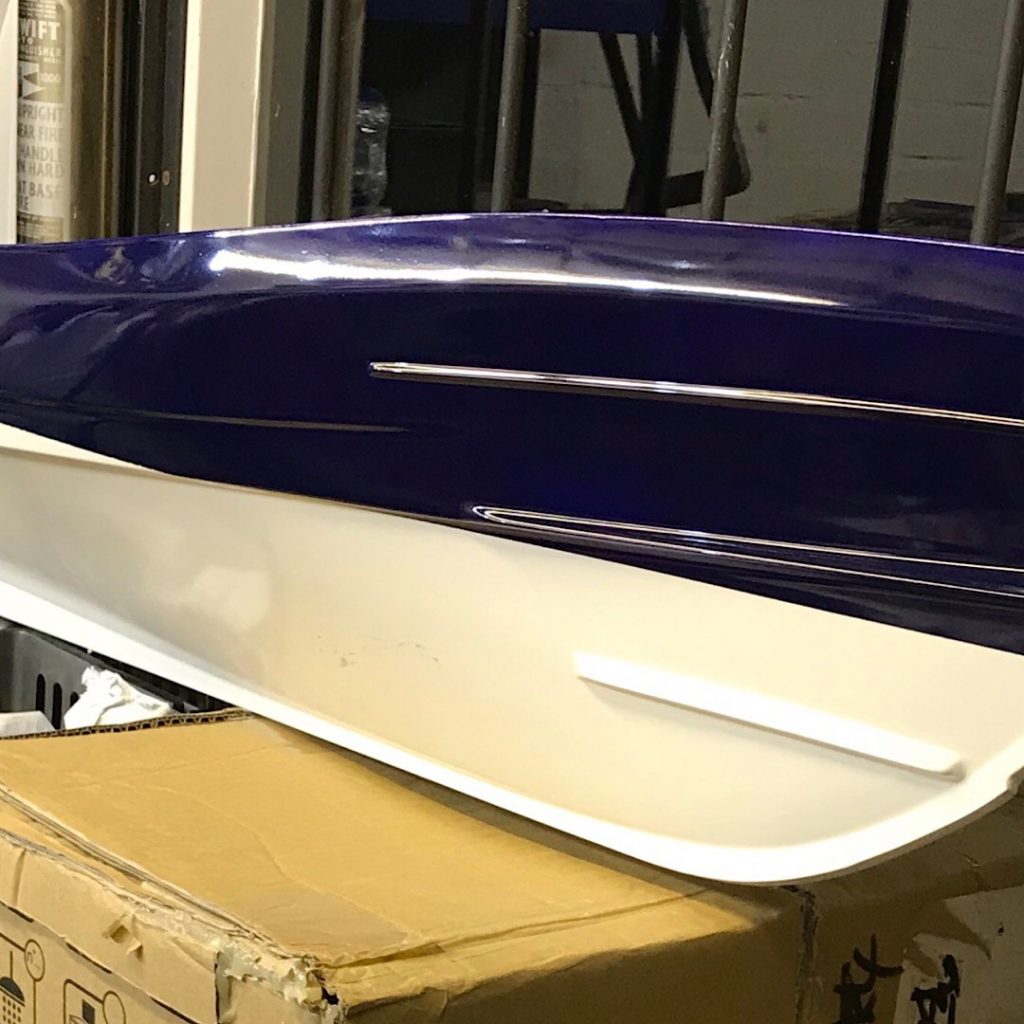
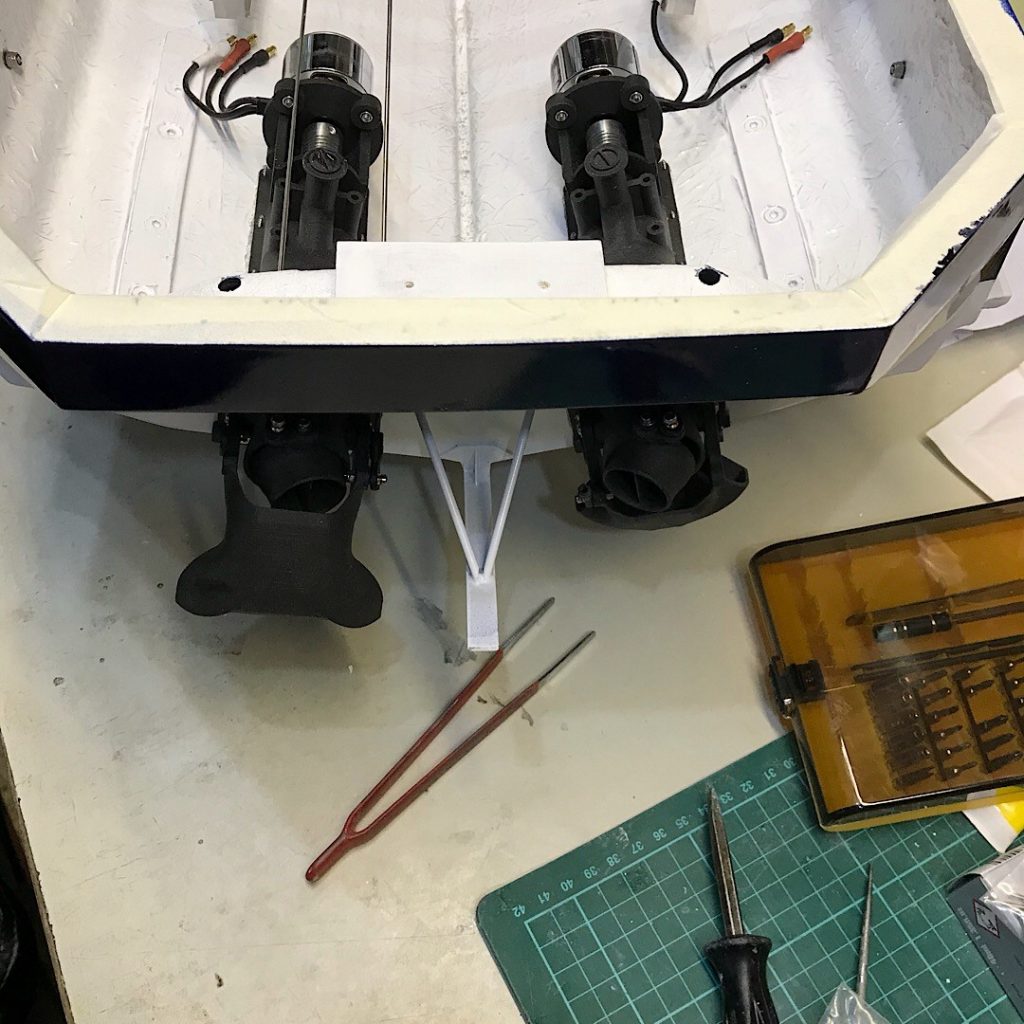


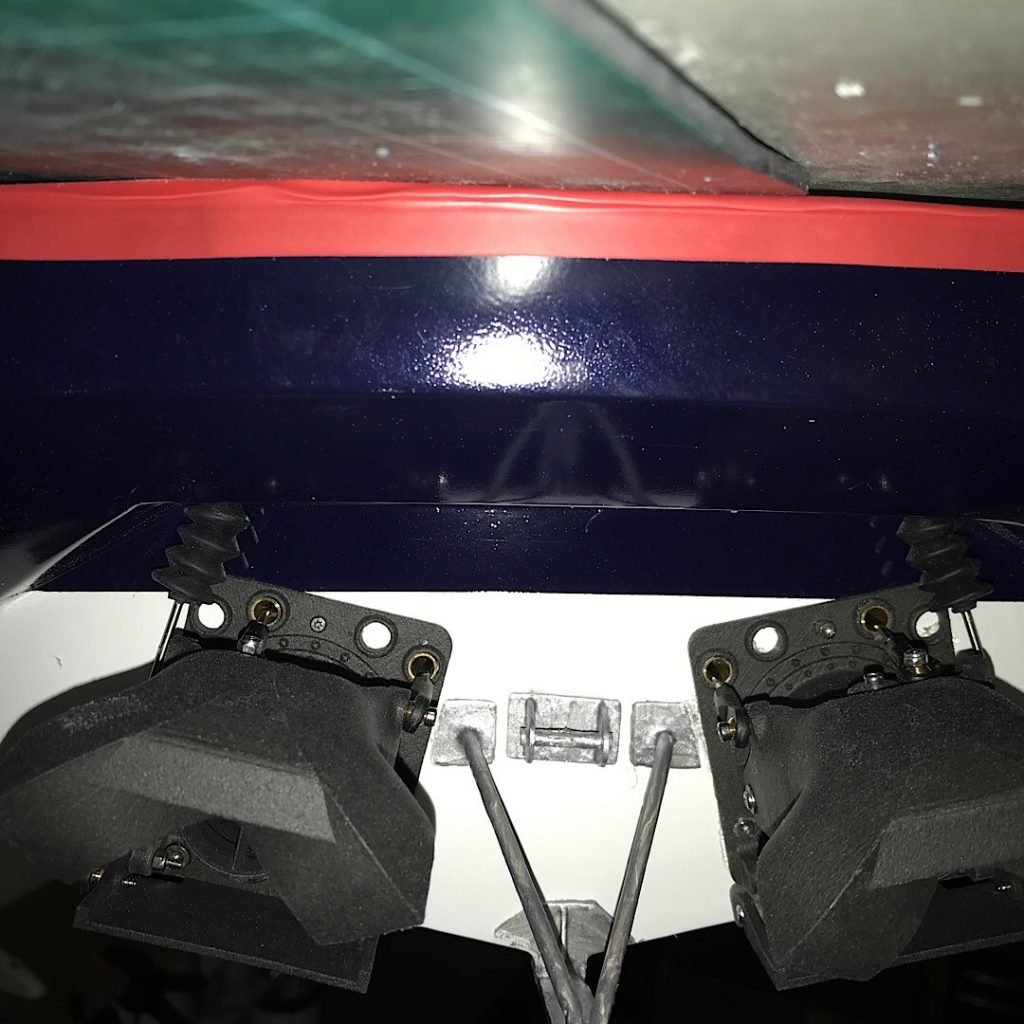

The first lake test went quite well. It’s a little difficult to balance the buckets and motor rpm so I decided to fit a pair of Action Electronics P105’s, forward operation of the sticks lifts the buckets then further forward on the sticks increases the motor speed. Pulling the sticks back drops the buckets for reverse, left stick Port, right stick Starboard. The right stick also controls the steering.
With this new setup it was easier to handle so apart from a few adjustments here and there it was a successful test.
I have had a few issues with servo’s going wrong so I have sent for some new ones, it will then get a third lake test, if everything goes well it will be time to finish and fit the deck before moving on to the cabin.
2-3-20
Catch up time.
Out of 6 Corona mid sized servo’s 4 failed, at £9 pounds a go I was not happy, 3 burnt out and 1 pulled a cog off its shaft. I asked Hobbyking if there was a manufacturing fault, they replied not that they were aware of but promptly gave me a credit.
I used the 2 good ones for the trim tabs and ordered 4 full size Hobbykings own brand servo’s, many Shannon builders say they are too big to fit but there is plenty of room for them in my build.
After the third lake test went well I decided it’s time to fit the deck after first painting it.
I used Halfords textured paint, green only, covers well and good finish for a non slip deck and it takes Humbrol enamel without reacting.
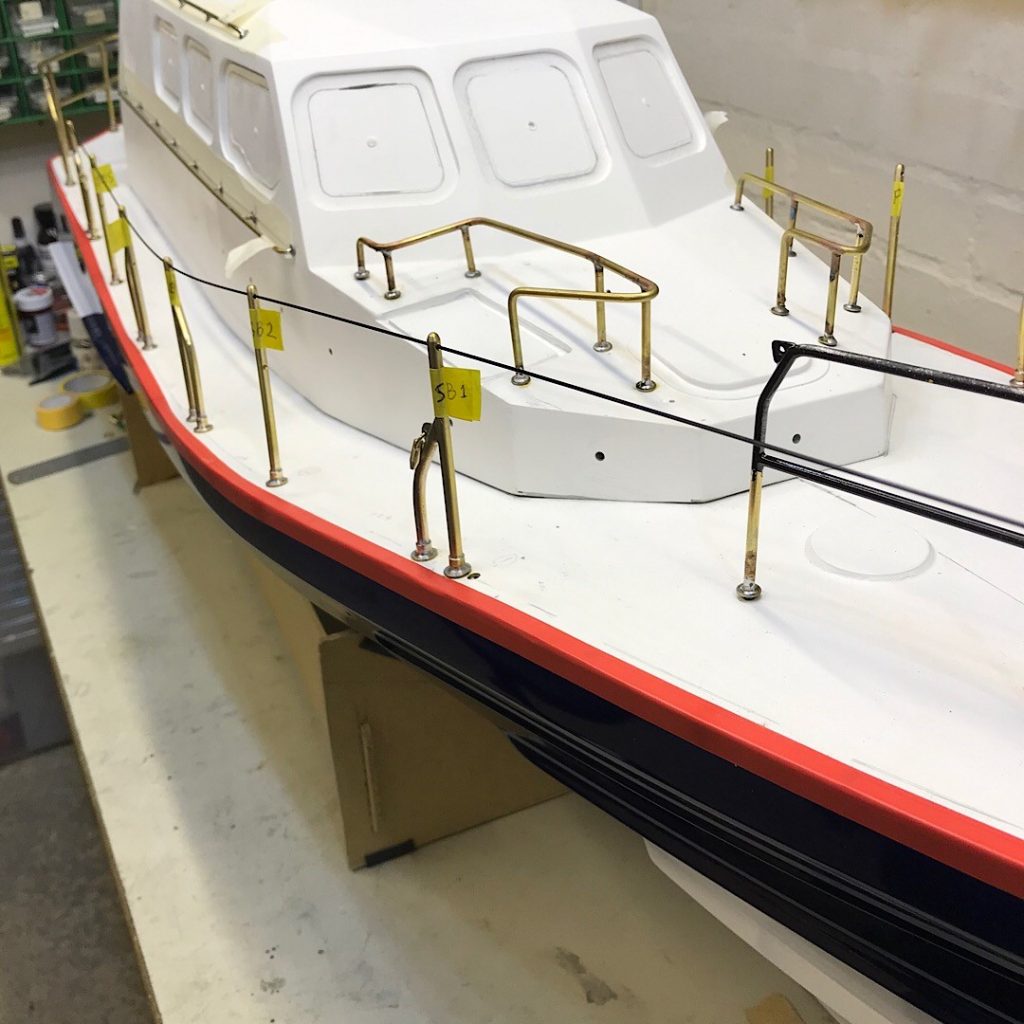
Deck installed, safety rails fitted, rubber fender fitted removed and then refitted properly, cleats, bollards and anchor fitted, hull is very nearly complete I will be moving on to the cabin soon.
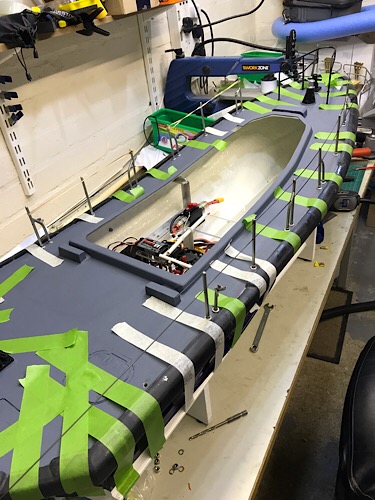
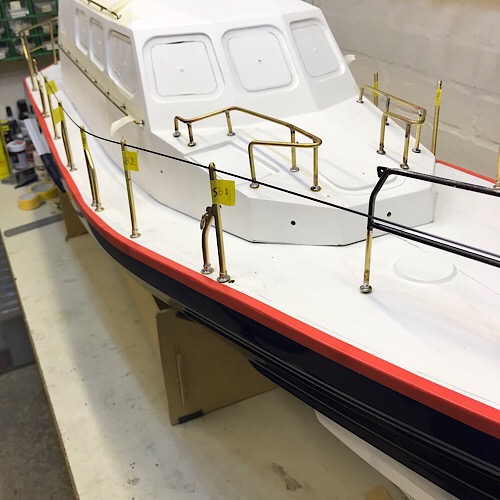

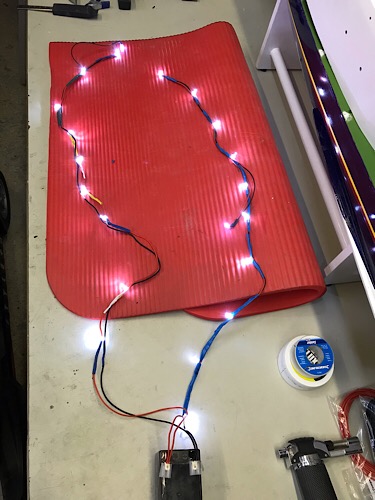

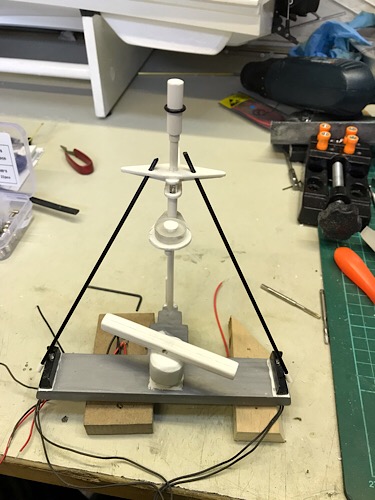
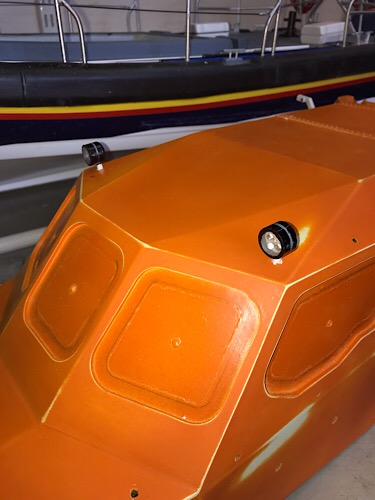
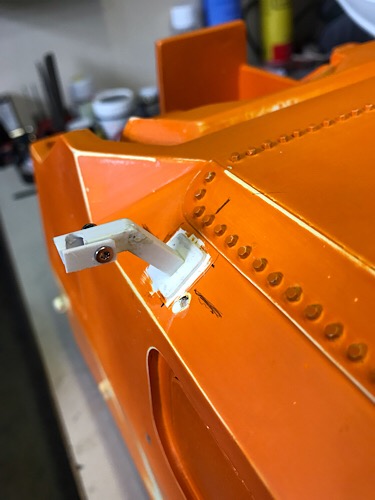
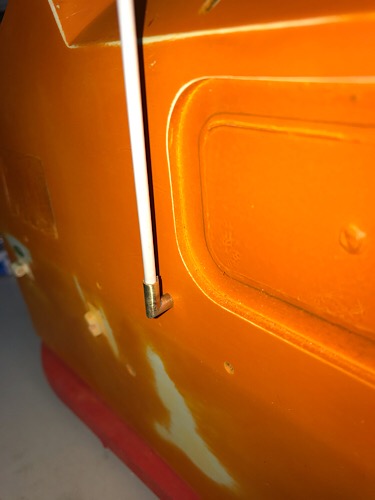

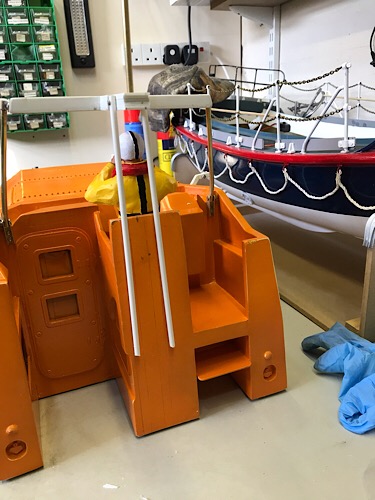
Final few photos as build now complete!


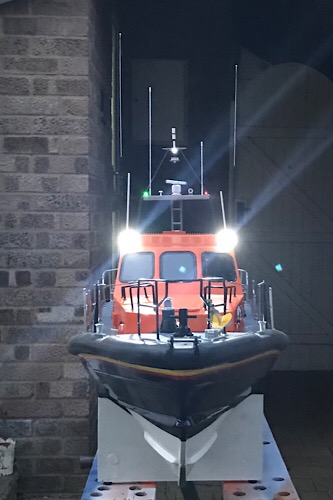
Now that the Shannon is complete, all but a couple of minor details which never seem to end, I have started on the interior.
Thanks to Chris Scott the kit is fairly comprehensive, the tub is already very nicely assembled and all parts are packed In clearly labeled bags of sub assemblies.
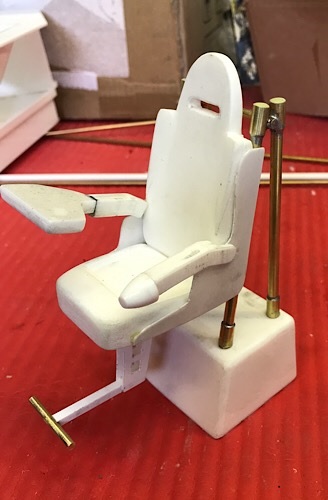
So far I have assembled one seat from 28 individual parts, this was my learning curve, the other 5 seats will be assembled on a mass production type run. After this I will start on the monitors, I have left this as a separate build because I intend to have them illuminated as I have done at the external helm


I am sure this post has touched all the internet users, its really really fastidious paragraph on building up new weblog.| а
Hello, good morning, my name is Wolfgang, I am living in Ratzeburg, Germany. I too have the SHANNON in 1:12, and also the Jets from Ocean Works, nur mit yet installed. Hope, we will come Info contact? Best regards from Wolfgang 🐺
Hi Wolfgang, please contact us with any queries via the contact us page, the message will go straight to the guy that built the Shannon, Best Regards RC Watercraft
Hi Wolfgang, I’m John, I built the Shannon on here.
My Shannon hull and cabin was produced by ‘Models by Design’ what company produced yours?
If you are on Facebook there is a Shannon builders page there, a lot of photos of my build are there.
You can contact me here if you have any questions, I will be pleased to help if I can.