So what is scratch building, a few people have differing views, a kit build doesn’t qualify, but what if you purchase a Fibreglass moulded hull? does that then constitute scratch building, what if you use commercially available fittings? does that then mean its not ‘scratch built’ I have no intention of getting hung up on this point, and will use whatever’s available, if there is a nice 3D printed winch, Ill buy it, if what I want is not available I’ll make it…….
So I decided I have never built from a Plan and wanted to give it a go, decided to start with a Flat bottom pusher tug as lots of easier nice straight edges!
Hunting for plans I ended up with ‘Jenny Sue two’

It was a plan from a Model Boat Magazine 2004, managed to source the mag from eBay for a couple of quid so could read the article that went with it.
There’s a number of methods that modellers use to transpose the plan onto the wood, I decided to try all of them 🙂 so I purchased a roll of Tracing paper, had the plans copied and cut some of the components out and even found a ‘pinwheel’ for £2.50 from china to try.
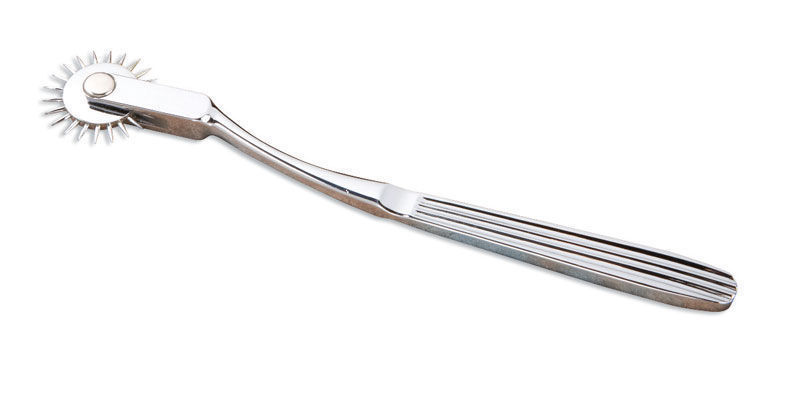
The idea is you place the plan over the wood and roll along the lines making tiny marks in the wood to later cut along….
On further inspection of the Plans it didn’t occur to me that it would dictate the thickness of the wood to be used (Thinking about it, that’s obvious to get the sizes doh!) however this particular plan was drawn with 9mm ply as the hull and 6mm as the deck! So in the end I went freestyle with a large sheet of 3.6mm ply.
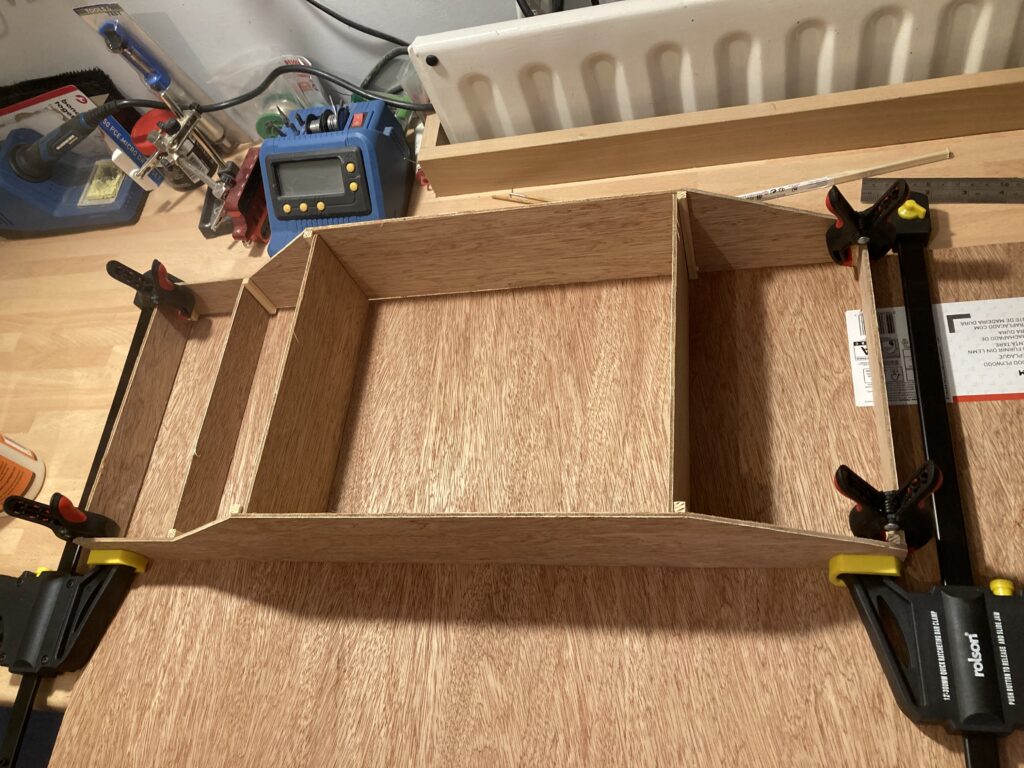
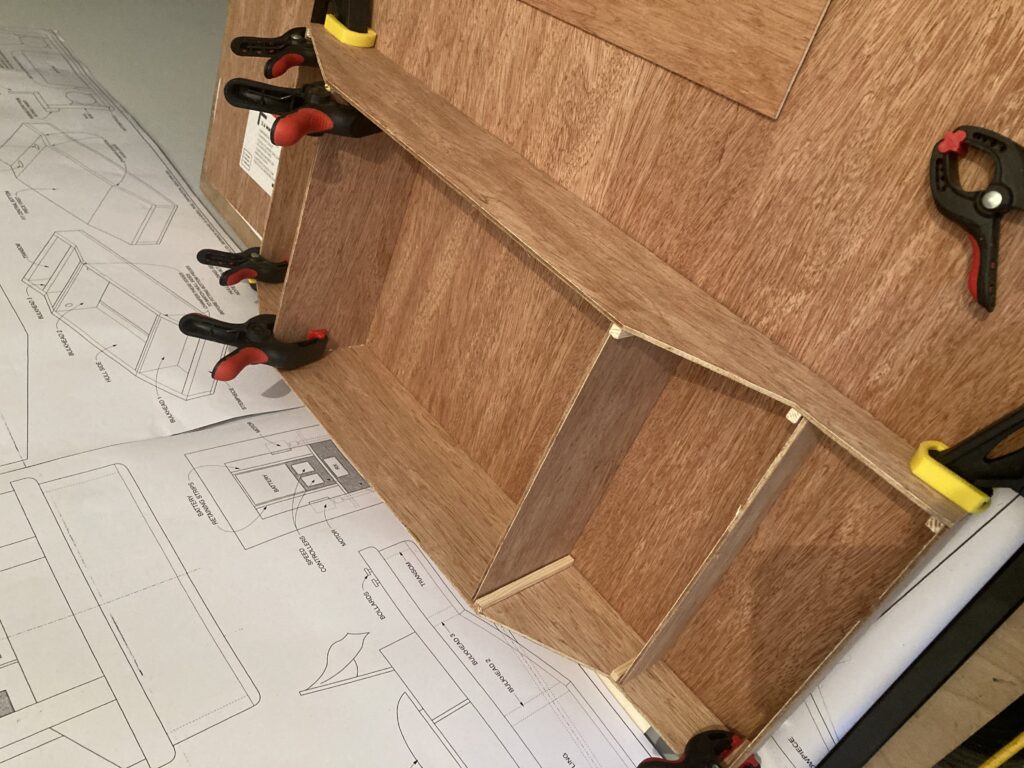
Mine ended up 20mm deeper than the plans as I wanted to ensure I had plenty of space for a couple of 540 motors, and 30mm longer.
I plan to fibreglass the entire hull, I’ve used bits of Fibreglass here and there to repair boats and to mount motors etc, but never a full hull so that’s a new experience on its way.
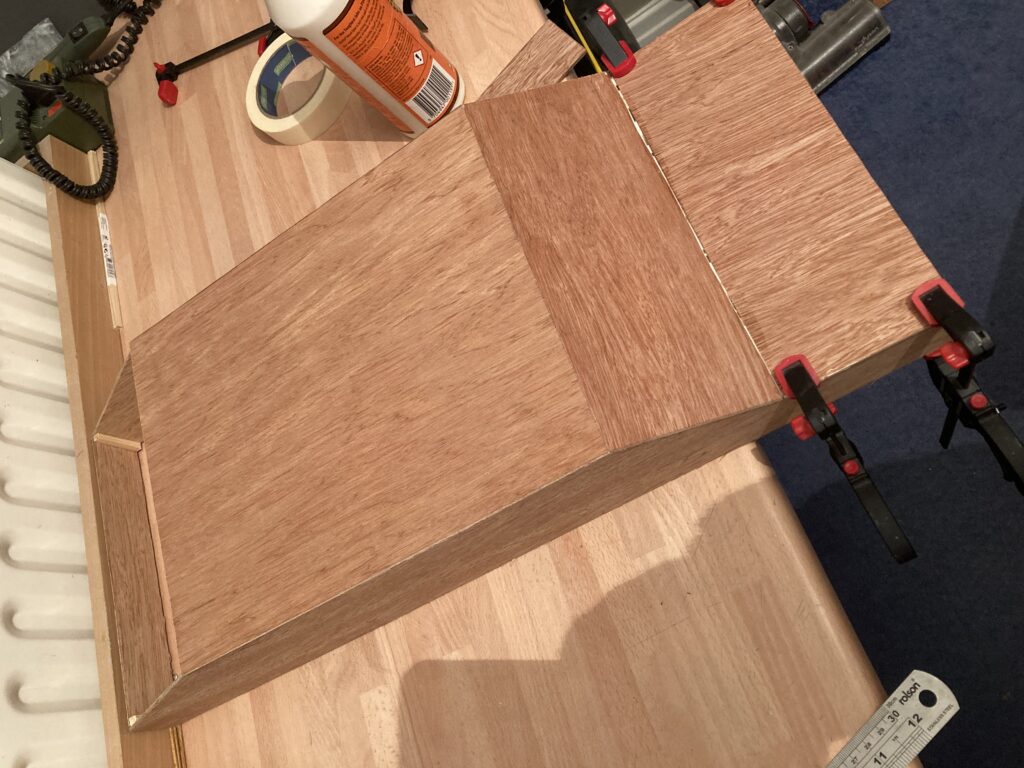
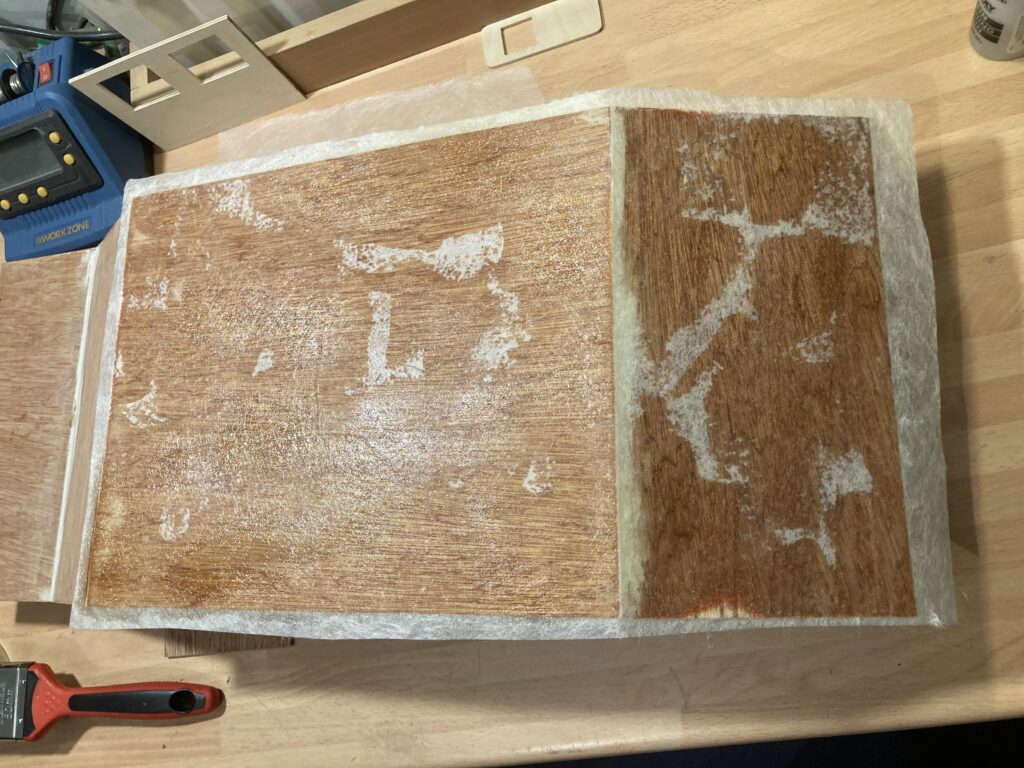
After a lot of researching and reading other peoples advice on the web, I decided to cut a suitable sized piece leaving a bit of excess over the edges, paint a thin cost of Resin on the wood and lay the matting on, finally painting on more resin over the top

Get the matt fully wetted with the Resin.
My first attempt went quite well, apart from getting resin all over my bench and hands.
So while waiting for each panel to dry before the next one is glassed, I start thinking about the cabin.

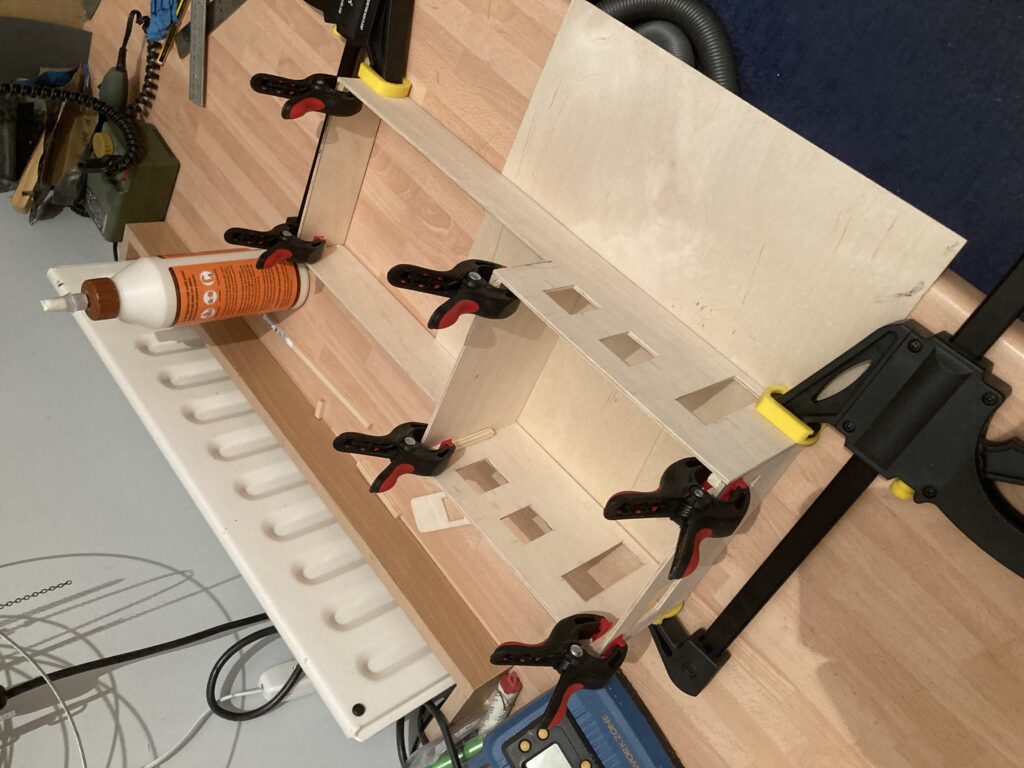
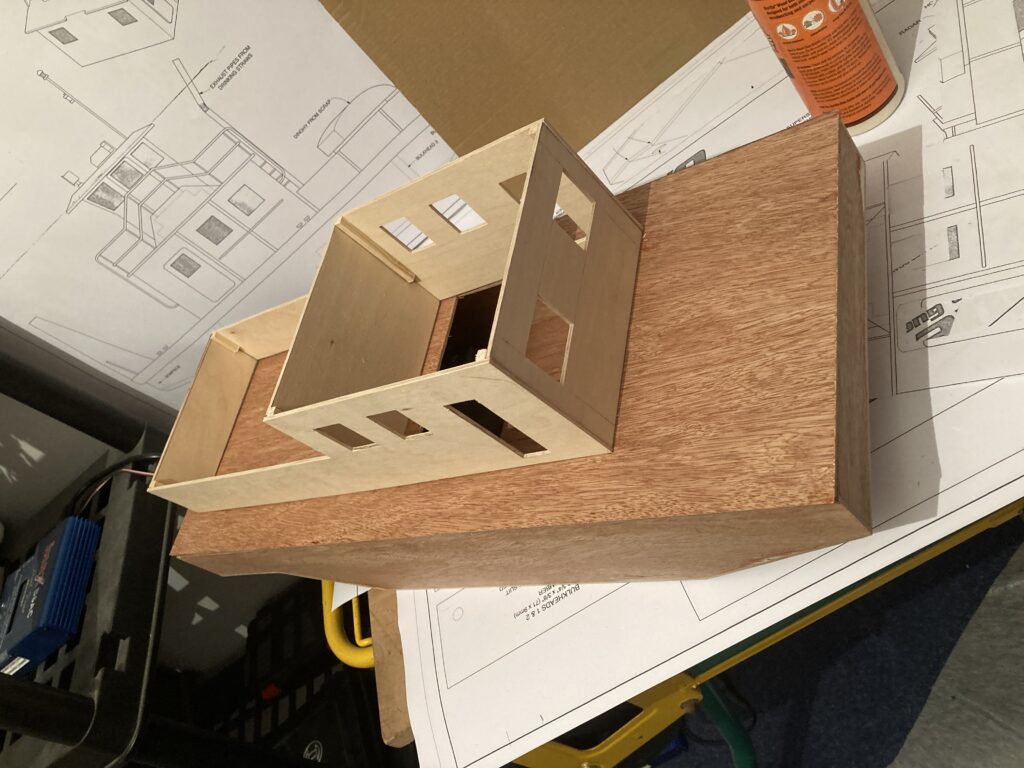
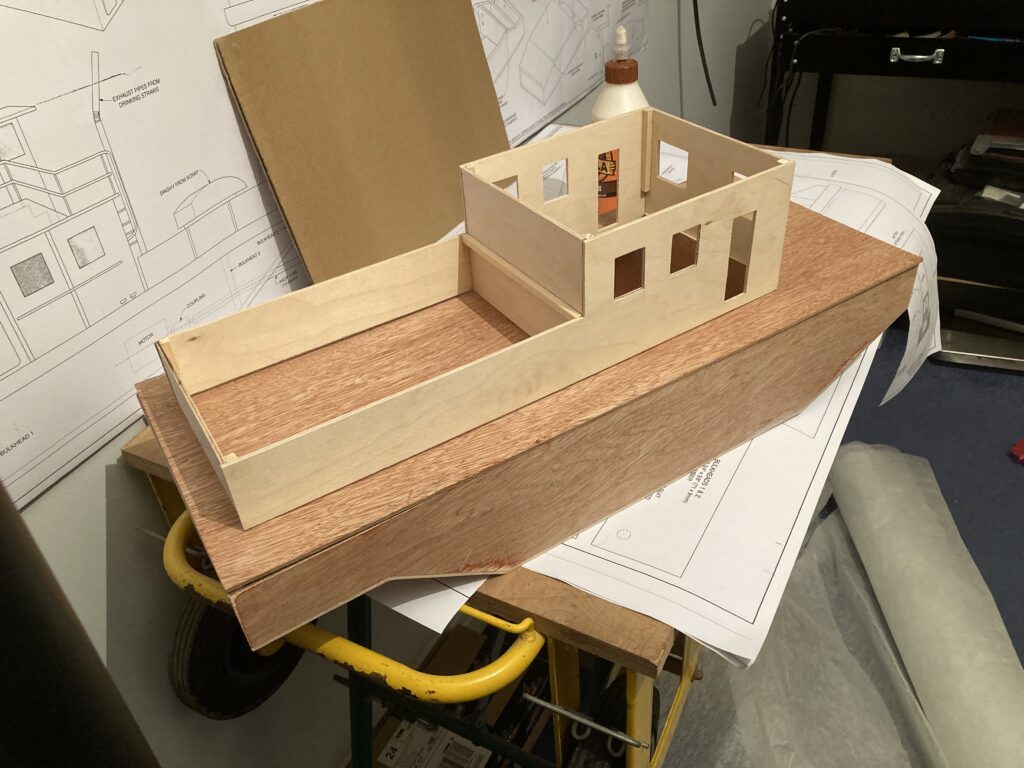

With the Hull fully glassed and rubbed down, time to fit shafts and motor mounts, I used P38 Body filler, (First time) its kinda like normal P40 body filler but infused with strands of fibreglass to add strength, has a consistency of chewing gum, not easy to get a tidy finish, but effective.
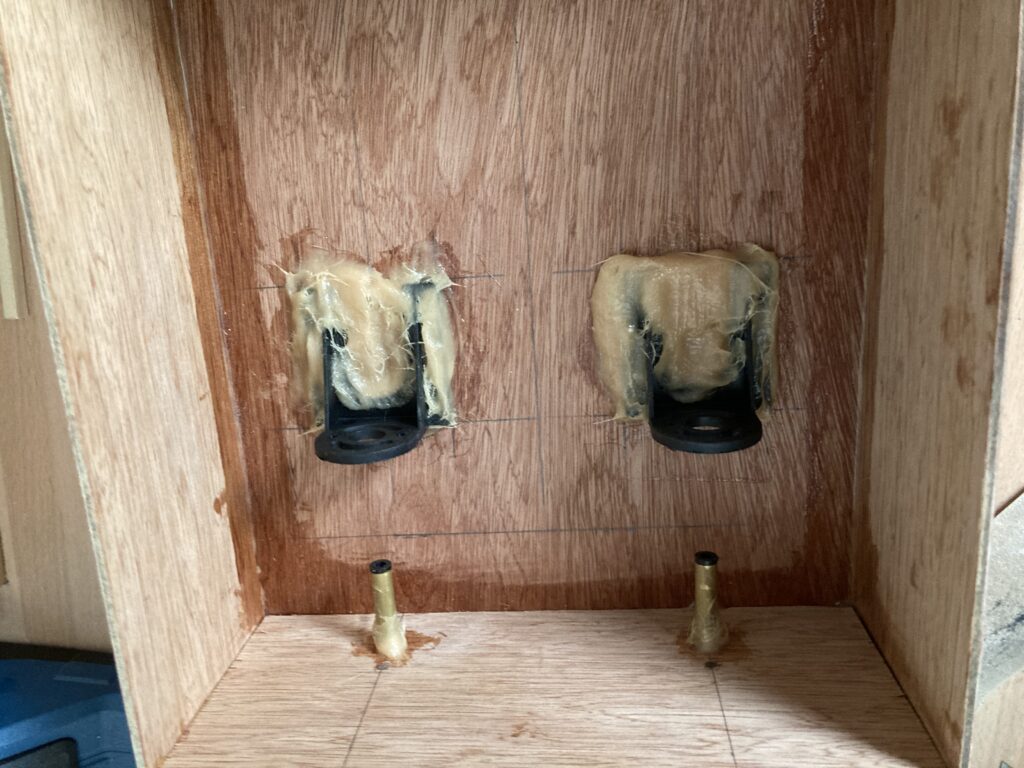

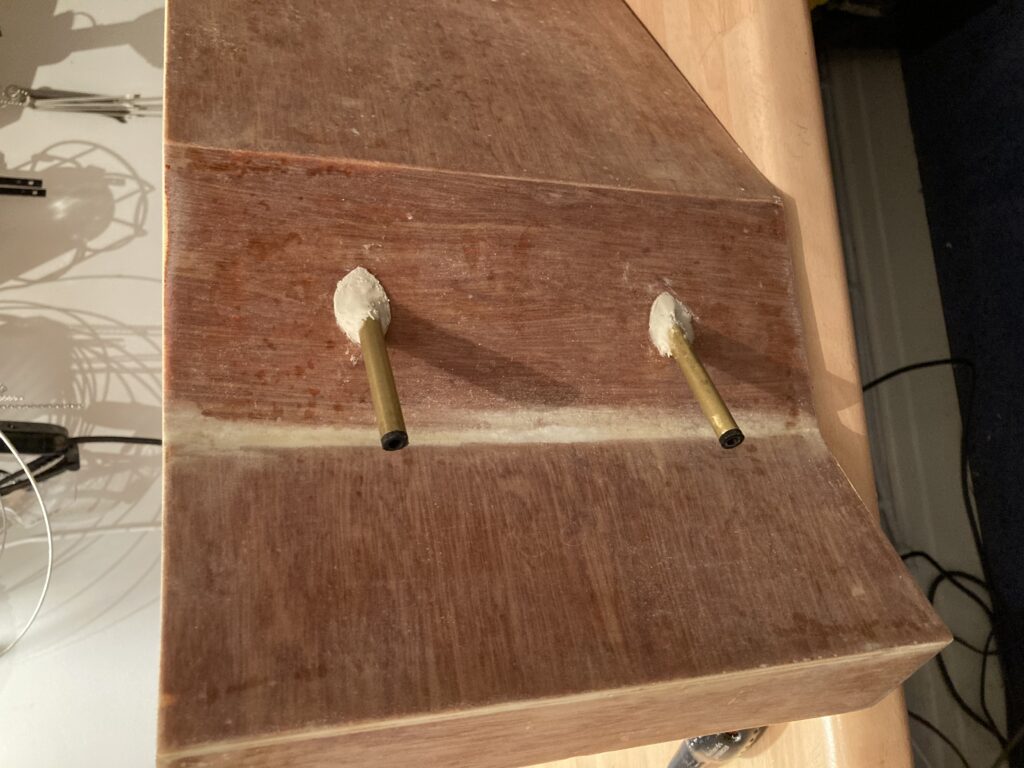

I’m going to use 2 540 size 80T brushed motors, and a P94 ESC / Mixer, I love these used them many times now, paired with brushed motors they work fantastically well and improve handling no end. I would normally go for decent Heavy duty couplings, but had these in my kit box so didn’t cost me anything.
With the motors in, Spun them up and they are nice and smooth, back to tinkering with the superstructure,

Decided I want a couple of funnels, so today spent building a proptotype.
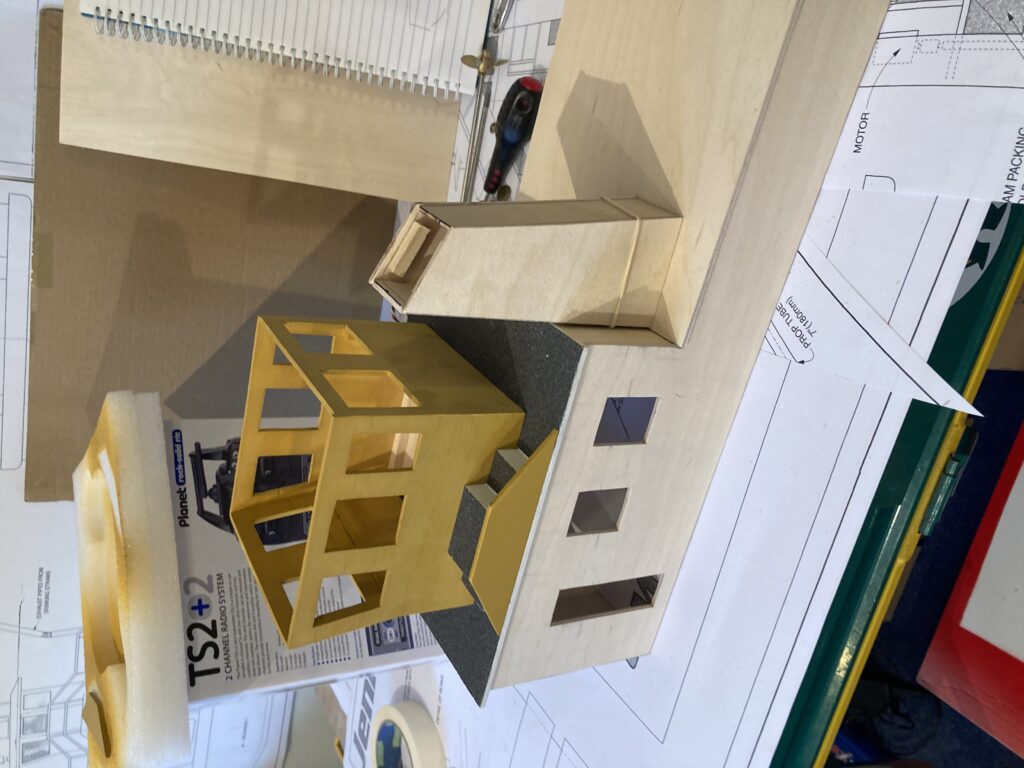
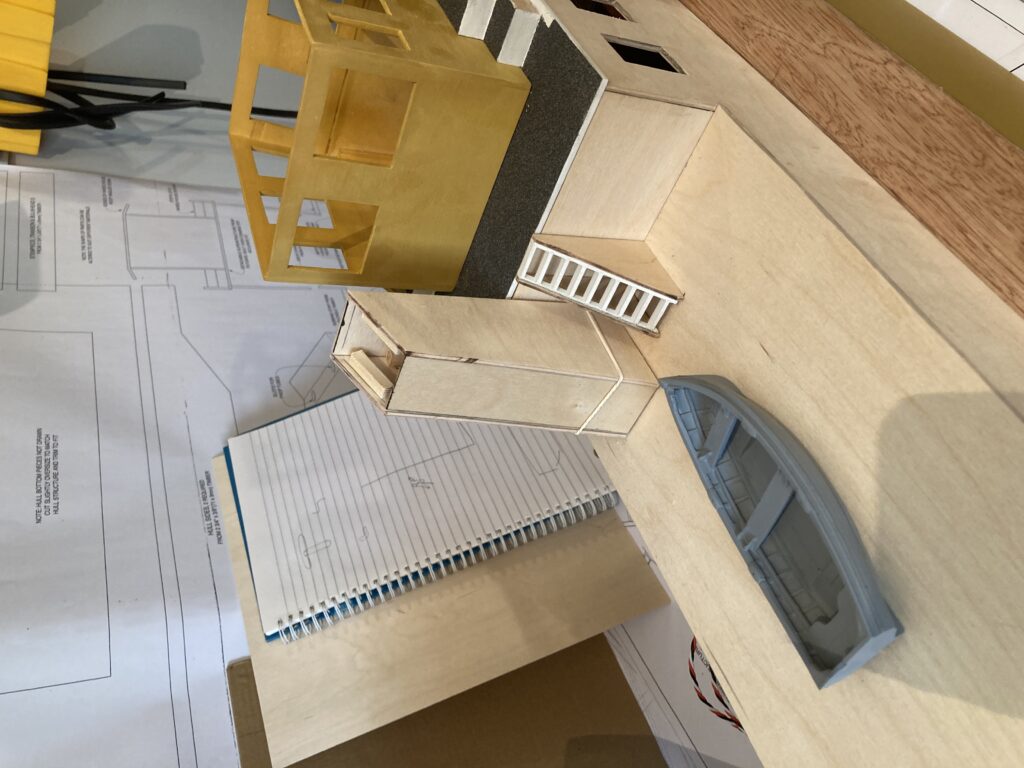
I like the idea of a crane, and maybe this boat on the back, not sold on it, got plenty of time to decide.
On the subject of Resin parts, I’ve previously had things from Mastman and Macs Mouldings, and been really pleased.
However after purchasing Escape Hatches, Oil Drums & a crane from Mobile Marine Models I was very disappointed, I appreciate all resin parts require a bit of ‘fettling’ to make good, but these were diabolical.
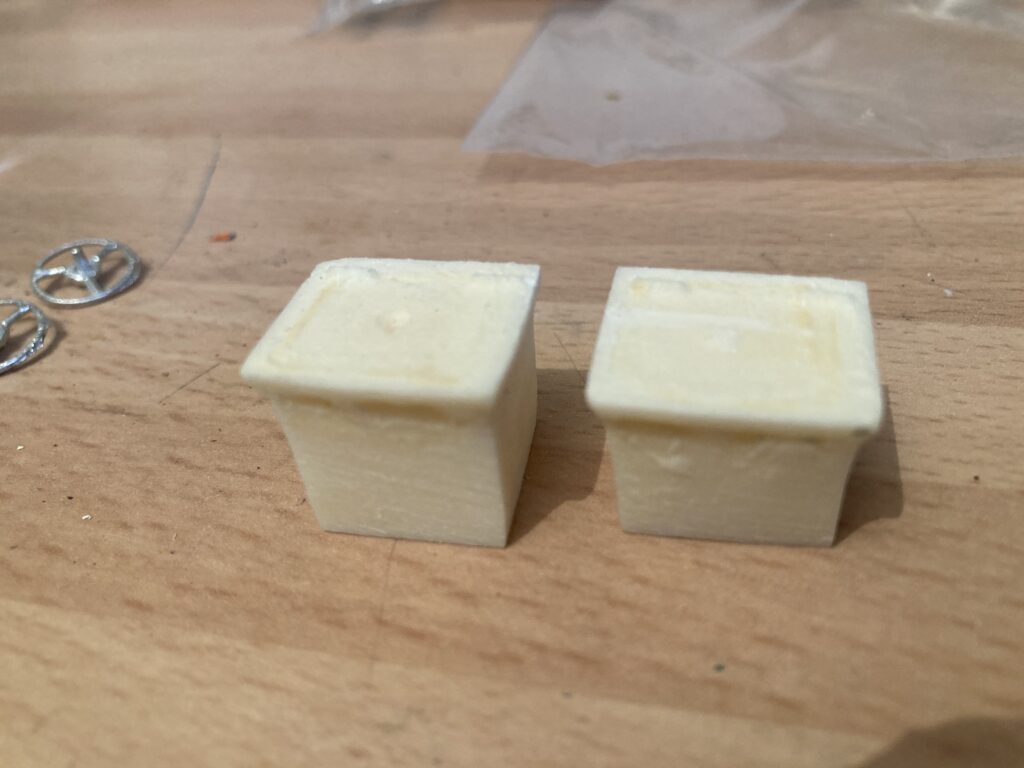

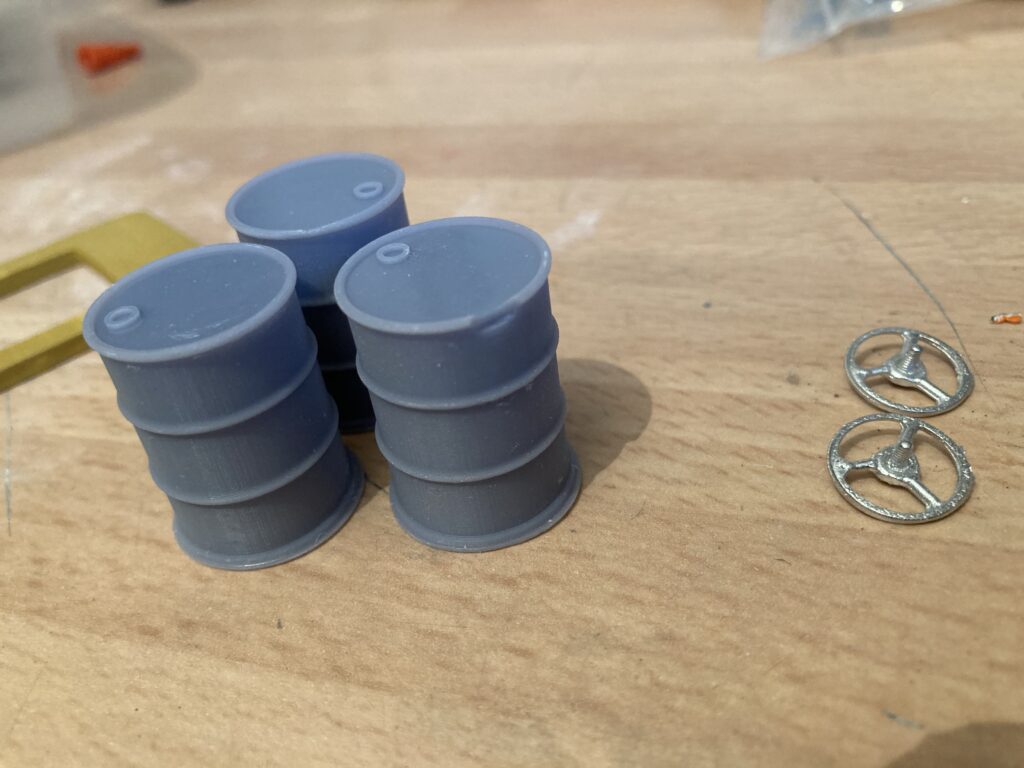
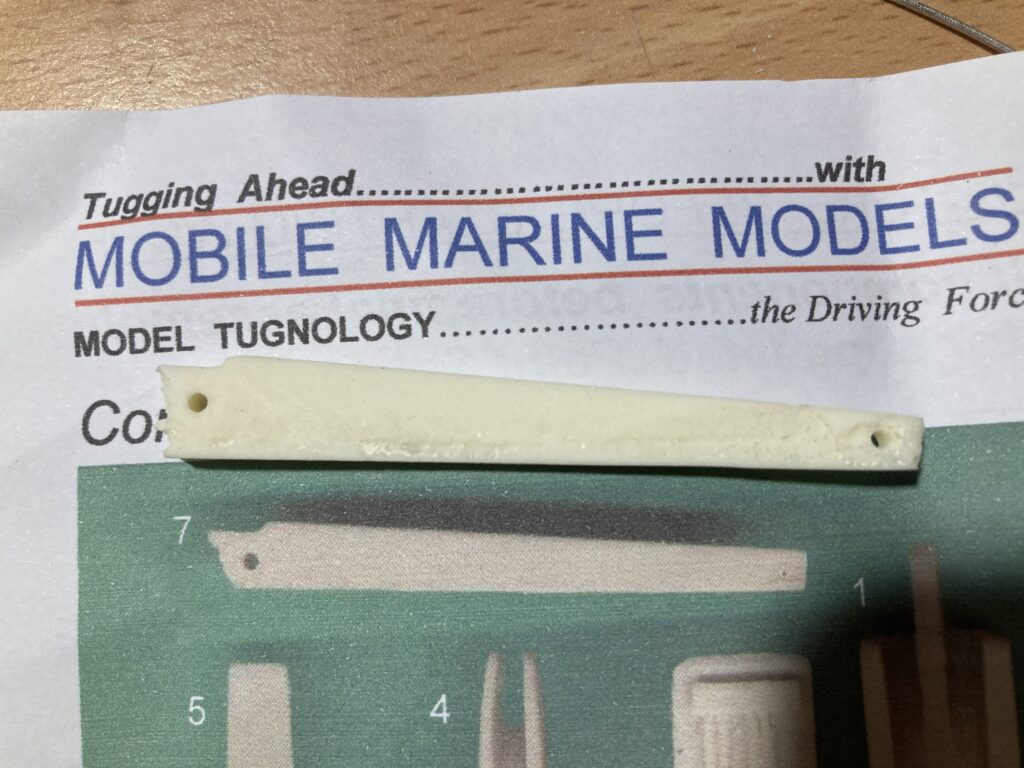
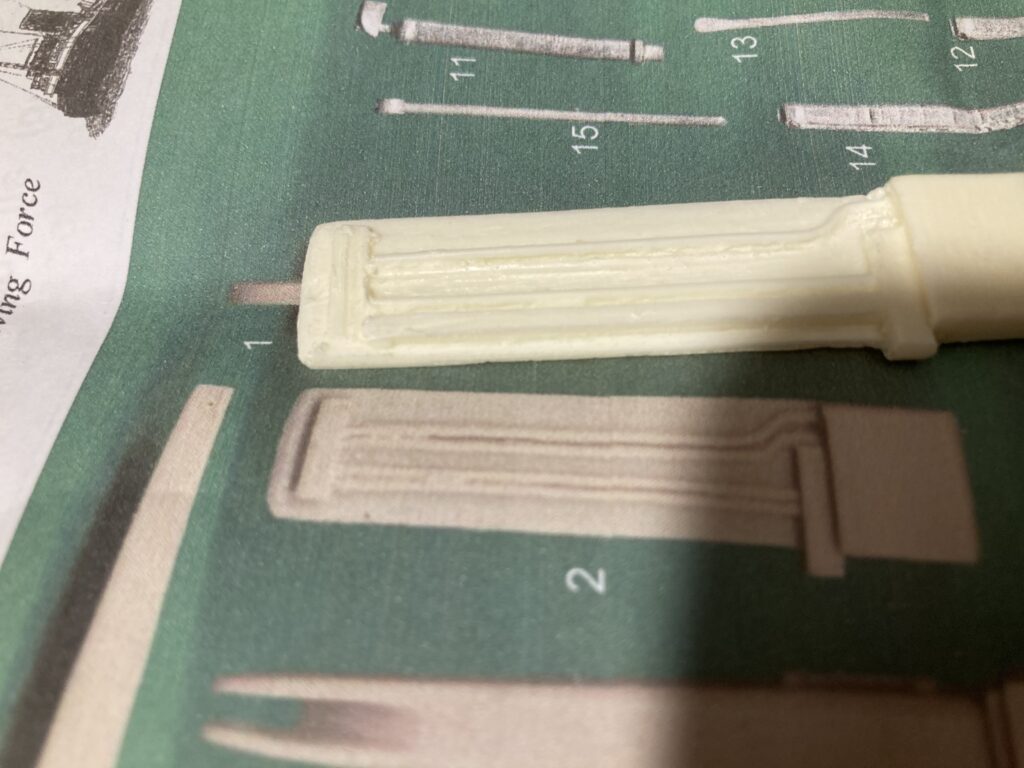

Rant over, I did contact Mobile Marine Models to be told ‘tough’, I highly recommend you avoid them when purchasing fittings! I have no experience of their kits and after this experience don’t intend to get any.
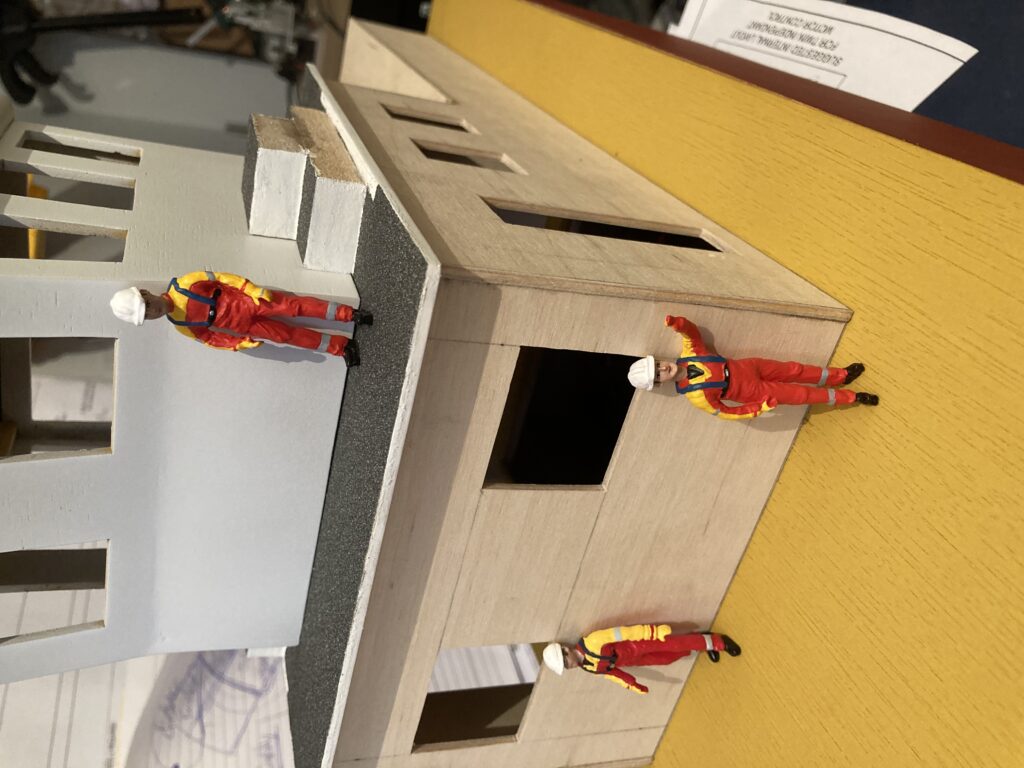

I persevered with the poor quality crane, many hours later and its the best I can do, I do have another now, not sure which will be best, will decide down the line.
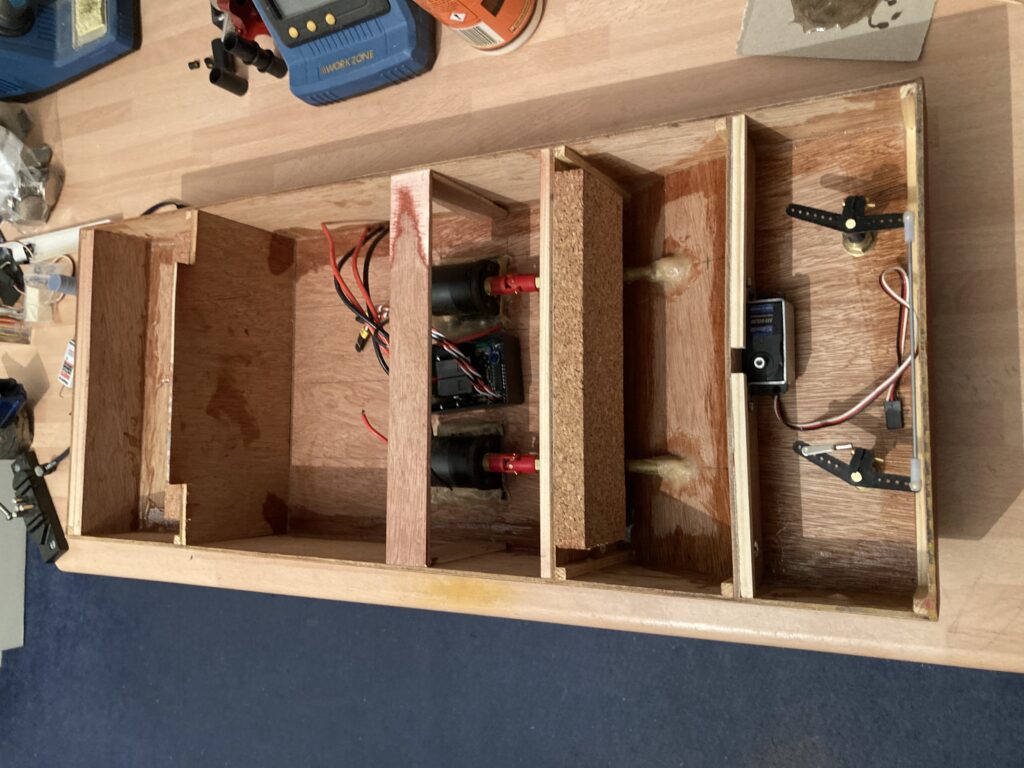
Will concentrate on completing the hull over the next couple of days so I can get the deck on.
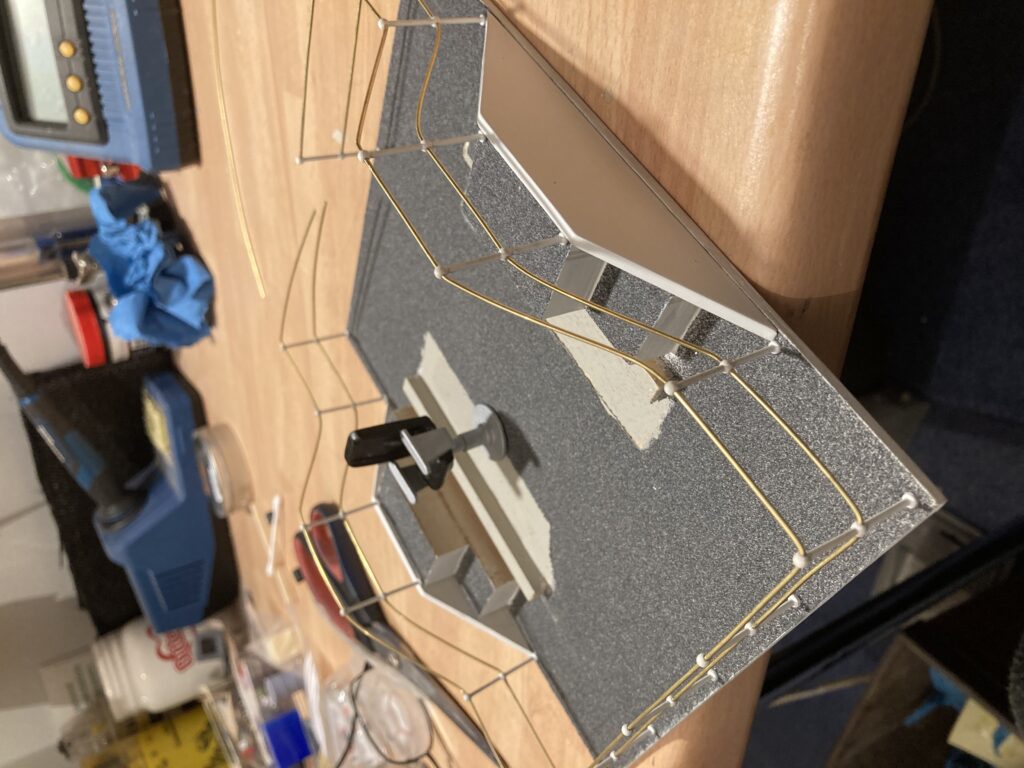
Devils own job add stanchions and railings round the top deck, close to chucking it out the window, but persevered.
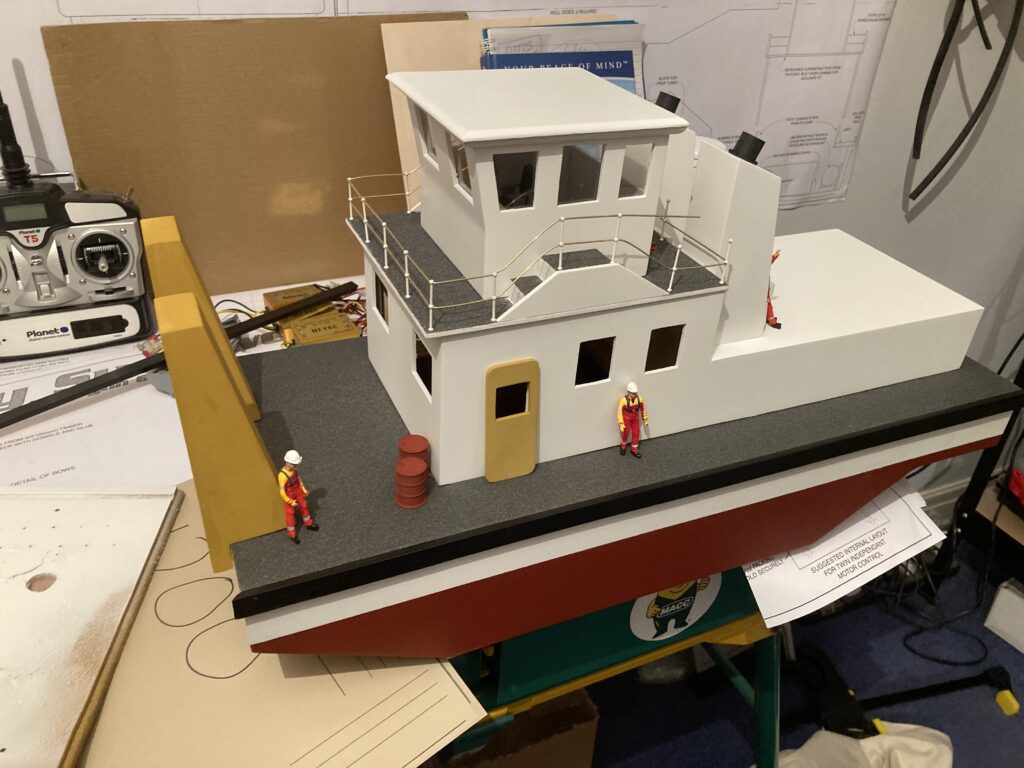
Finished shaping the ‘pushers’ on the front, and positioned everything to see how it will look.
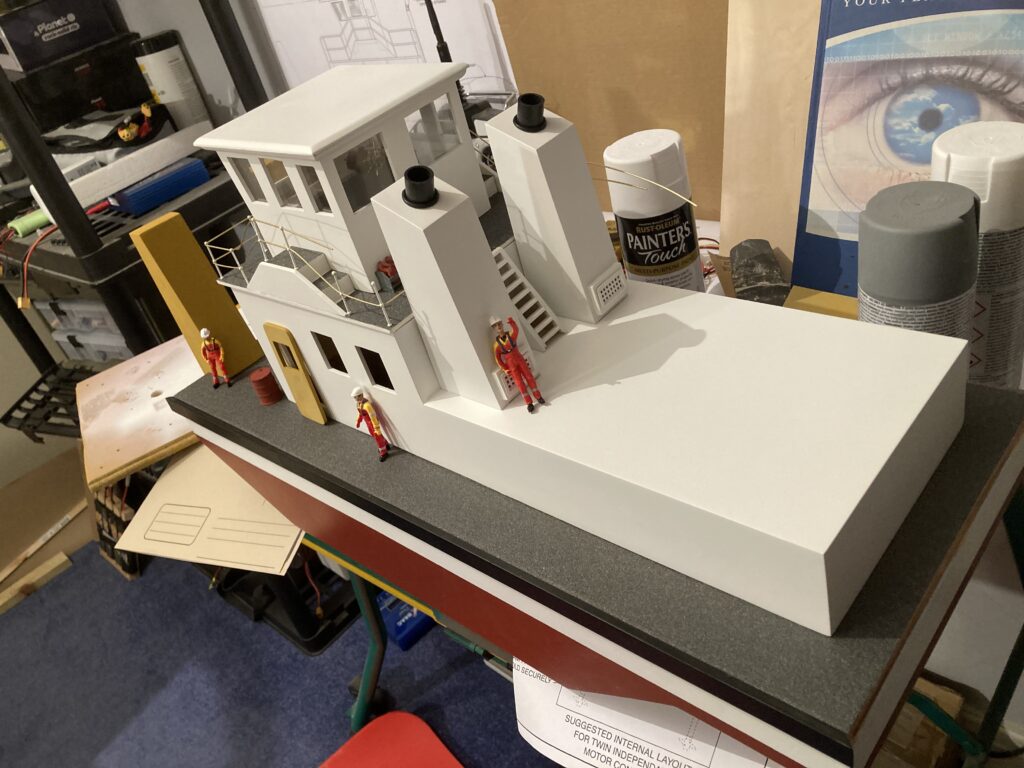

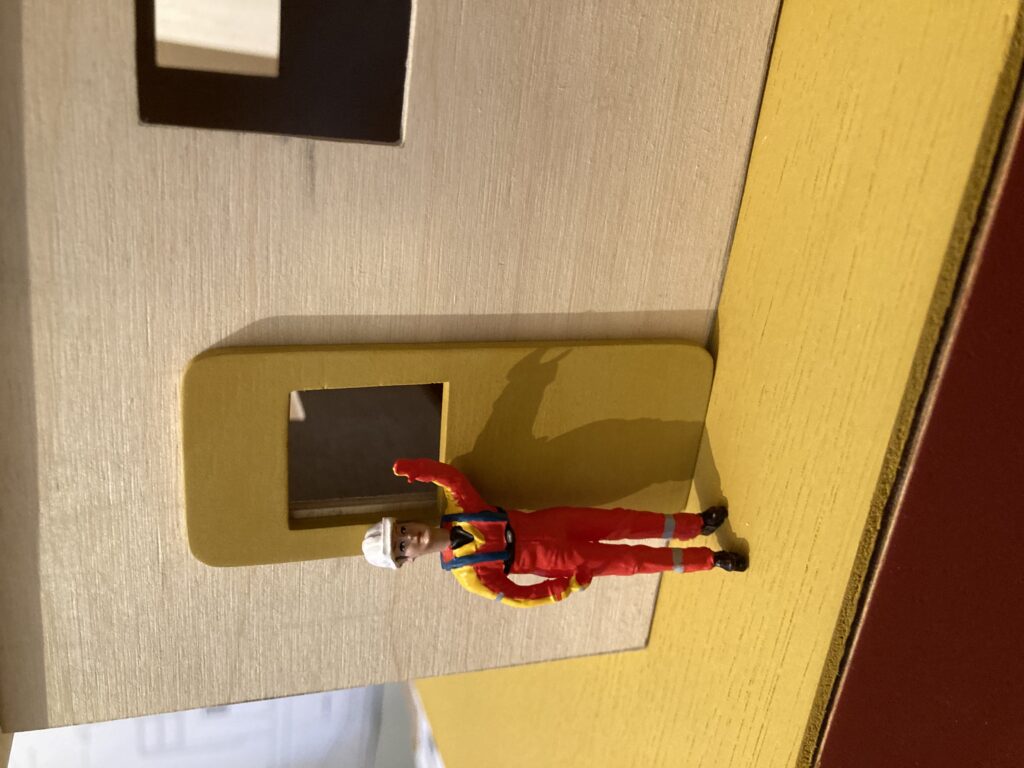
Pushers painted, bollards on, added some doors, and finished a rubbing strip around the hull, its only wood so will dent easily, maybe add some tires? Will start ‘decorating’ now, the cabin roof will have a mast, ships horns, a radar and some navigation lights, will add the crane maybe some hatches and the all important lifebelts.
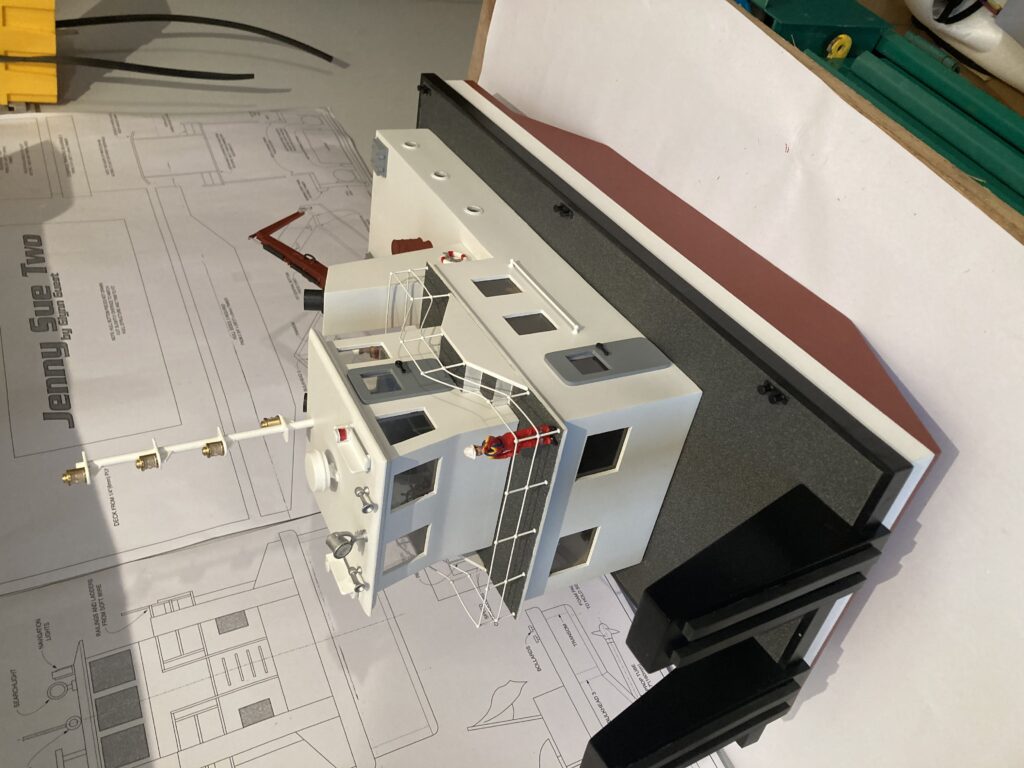
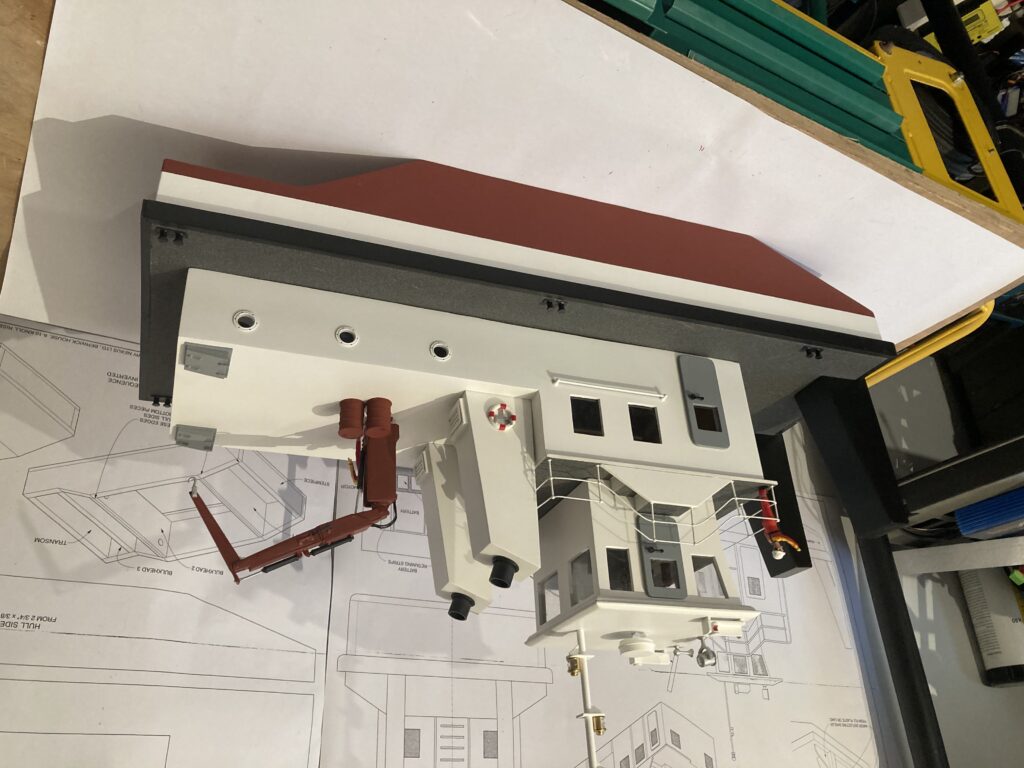
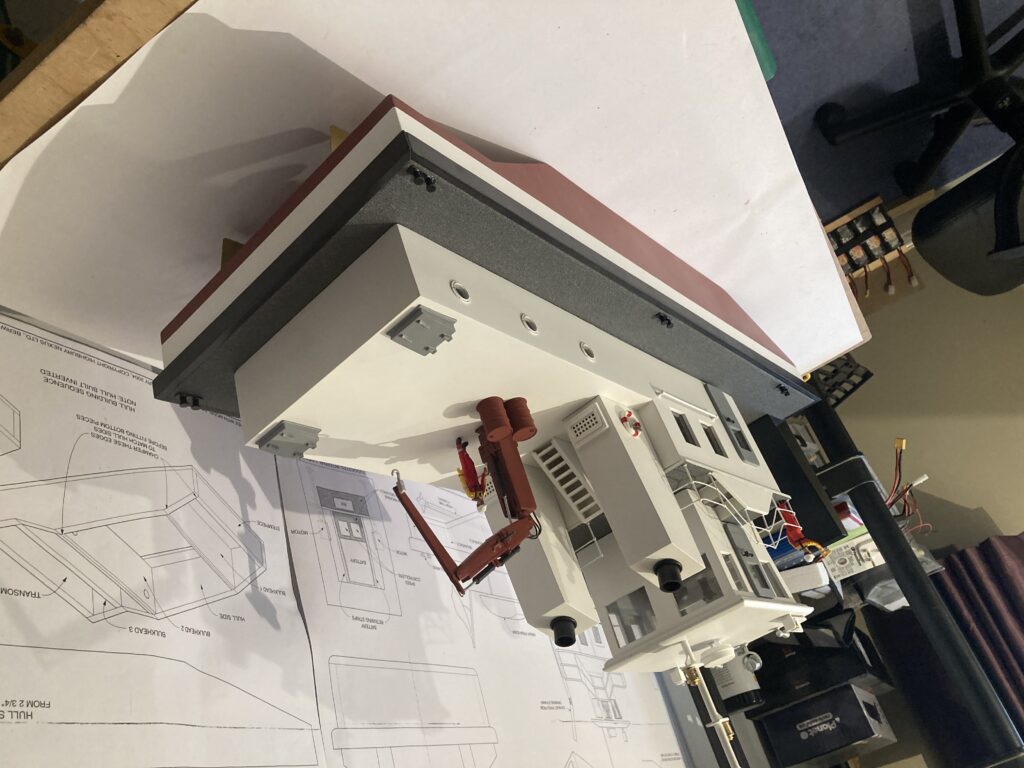
Then complete for now, will come back to it when we can get some sailing in, there’s no ballast in it yet, will have to see how it looks with a large 12v Lead acid battery in. What’s my next project to be!?